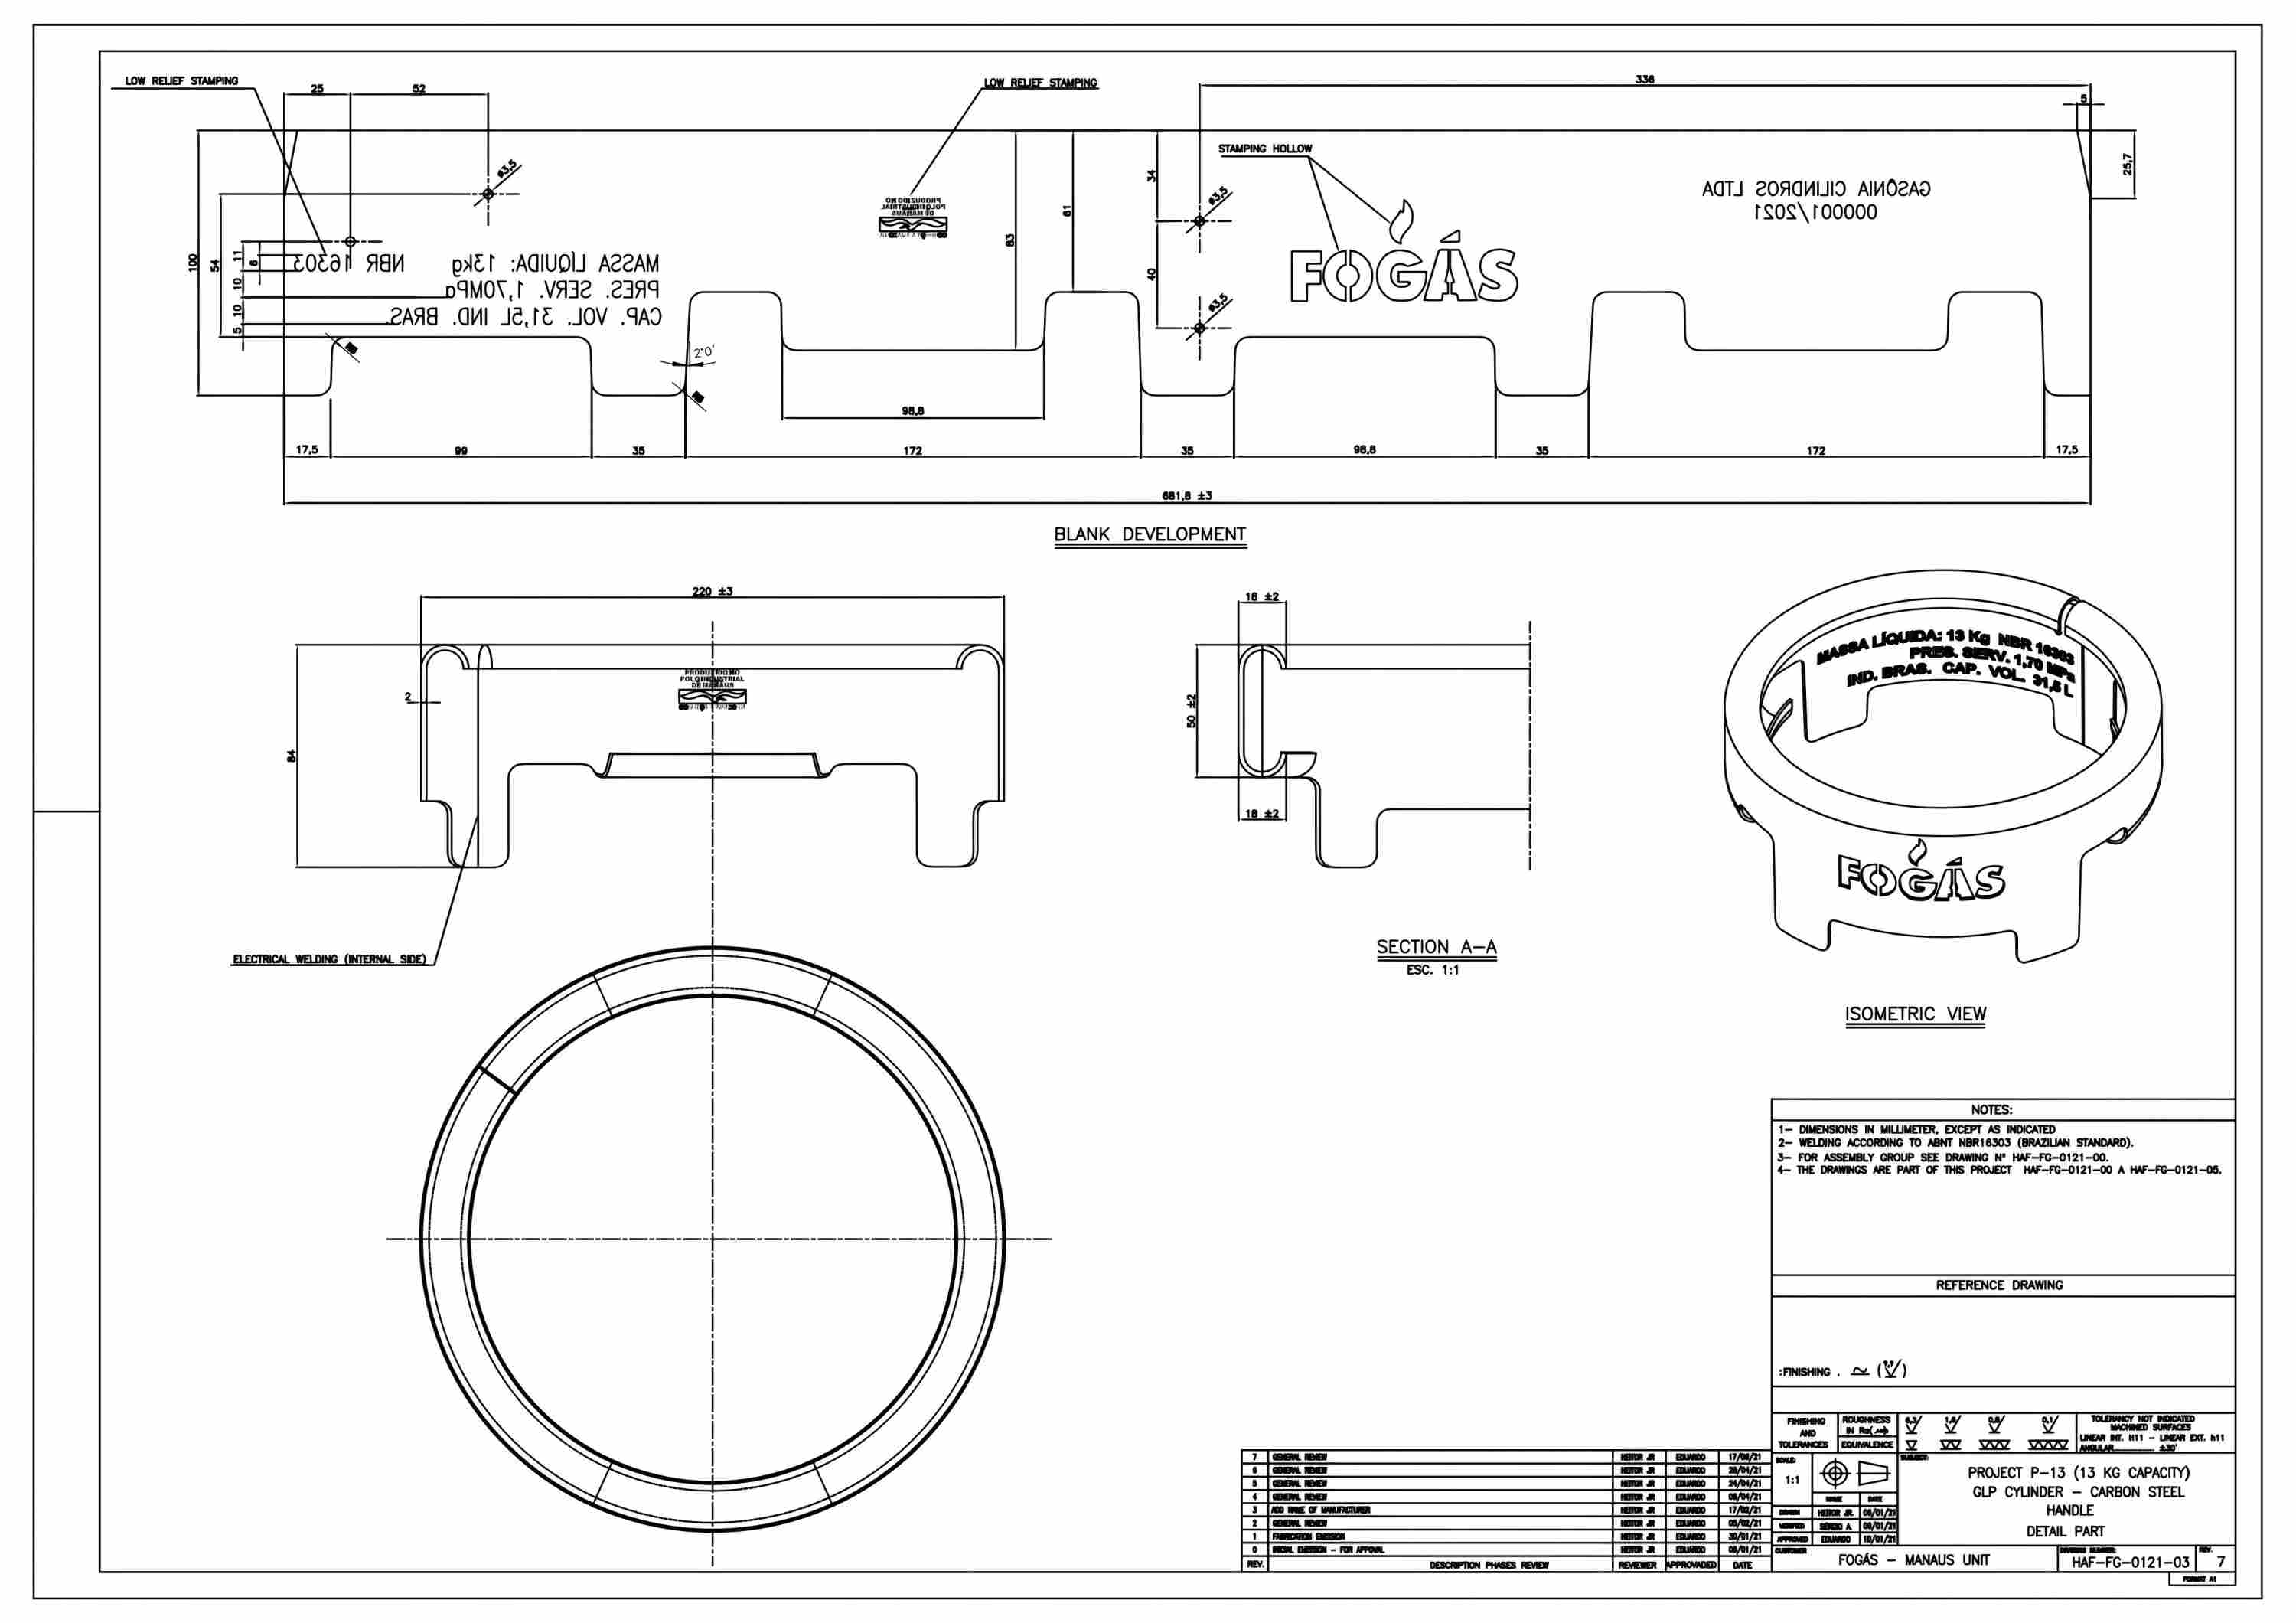
Core technical logic of shield production
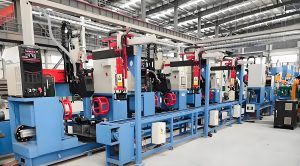
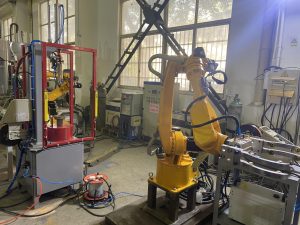
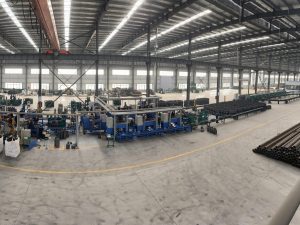
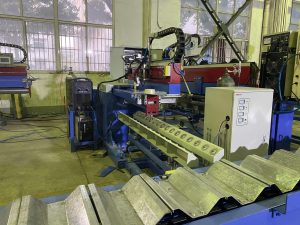
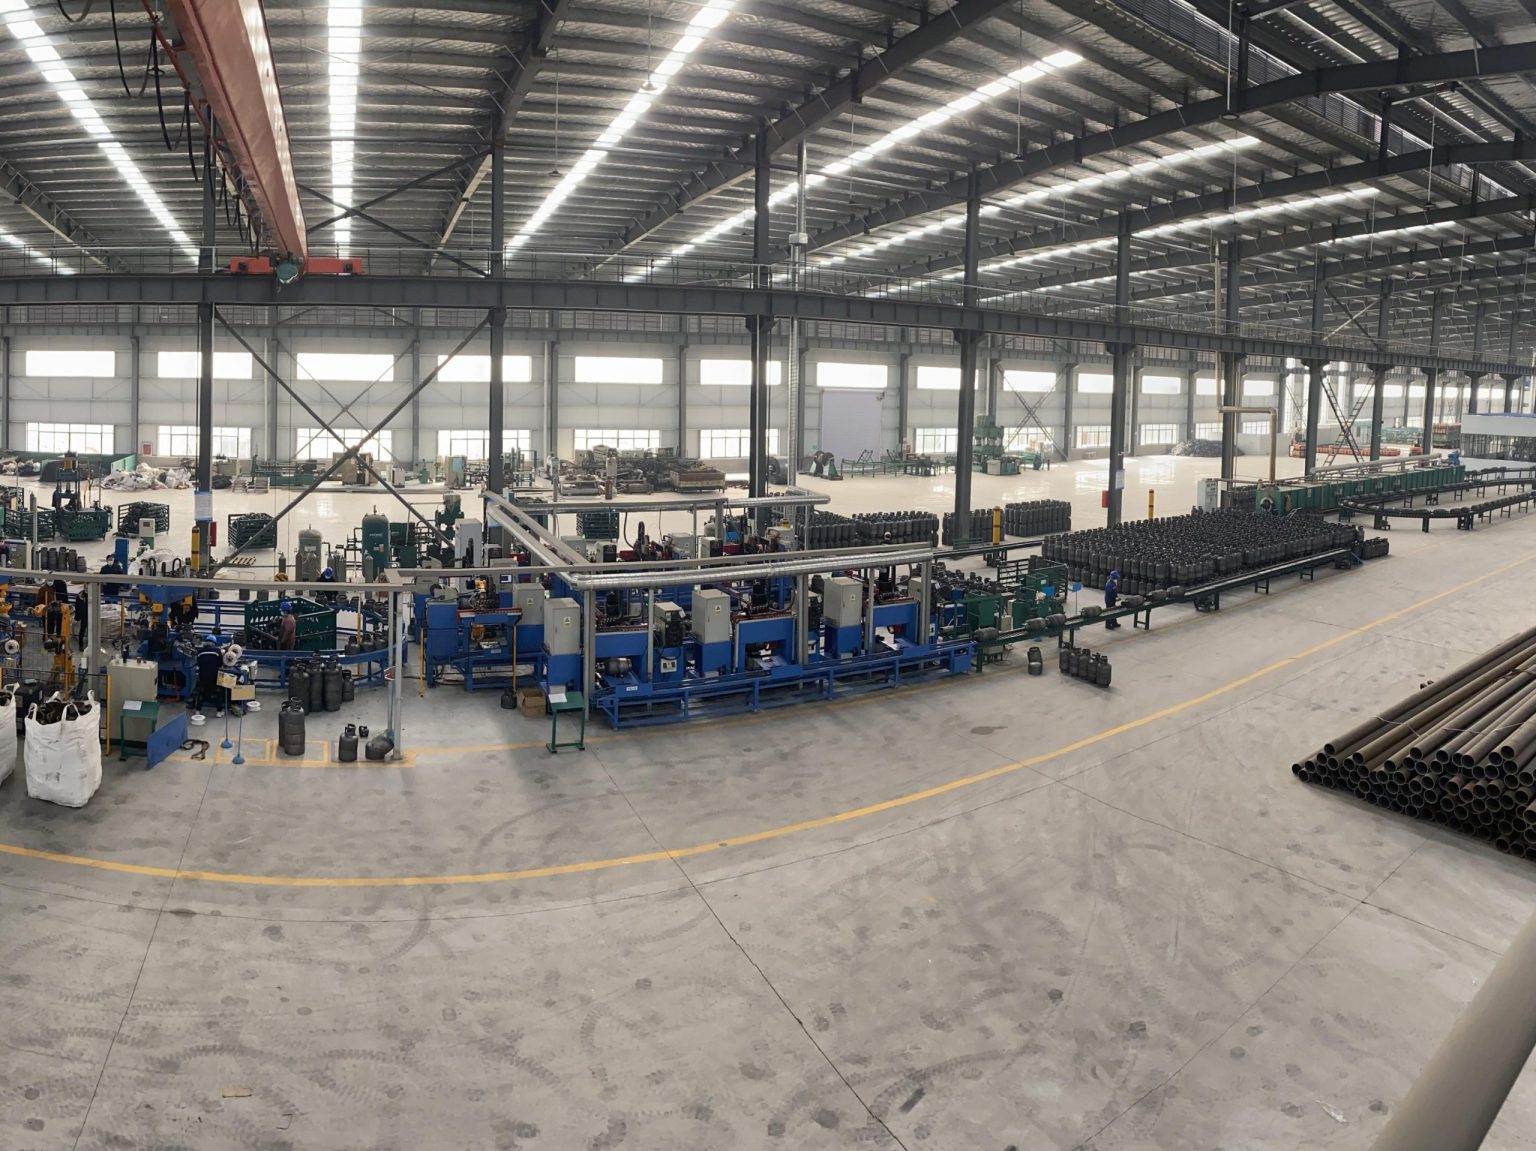
The production of liquefied gas cylinder shields is carried out through automated stamping, welding and full-process quality control to ensure that the shields effectively protect the valves throughout the life cycle of the cylinder. With the development of intelligent manufacturing technology, shield production in the future may further integrate technologies such as AI defect detection and digital twin simulation molding to further improve production efficiency and product reliability.
Automated production process of shields
1. Raw material pretreatment
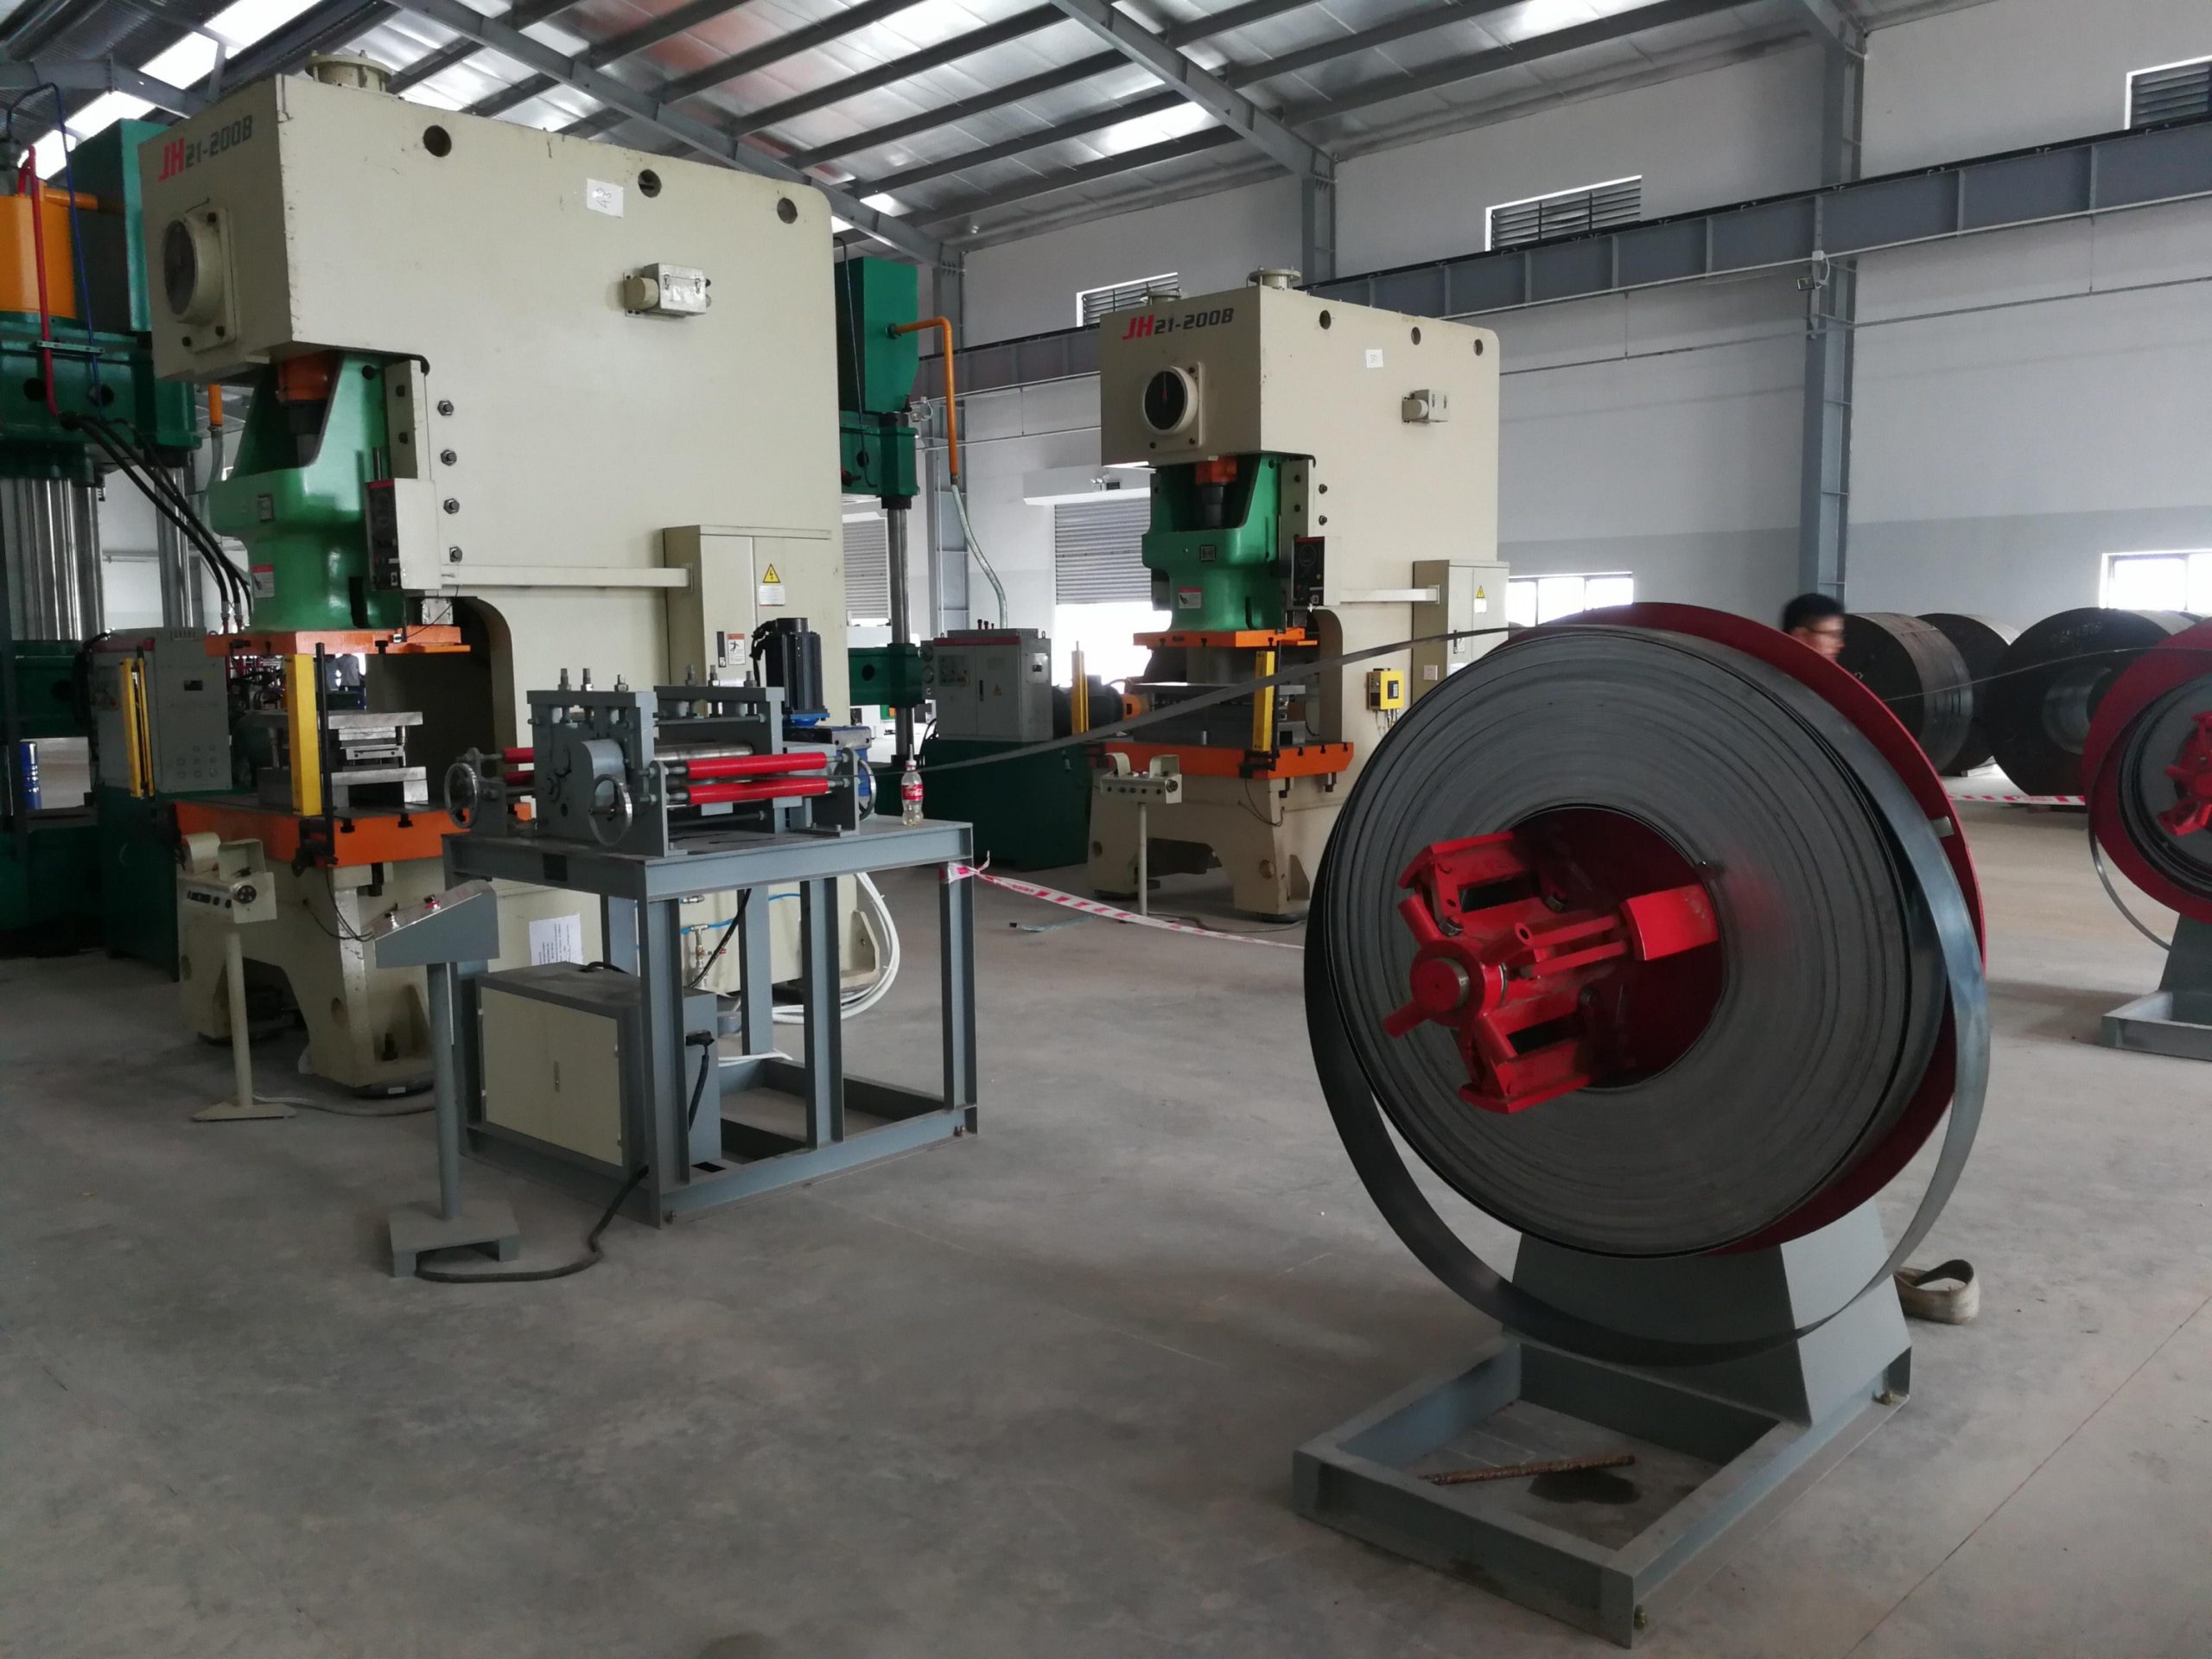
Steel plate flattening and leveling:
The rolled steel strip is unfolded by the flattening machine, and then eliminated by the leveling machine to eliminate stress deformation, ensuring that the flatness error of the steel plate is ≤1mm/m, avoiding affecting the subsequent stamping accuracy.
Cutting:
Use CNC laser cutting machine or punching machine + mold cutting to cut into regular plates (such as rectangular blanks) according to the size of the shield. The laser cutting accuracy can reach ±0.1mm, the cut is burr-free, and the subsequent grinding process is reduced; the punching machine has high cutting efficiency and is suitable for mass production, and can process 10~15 blanks per minute.
2. Stamping
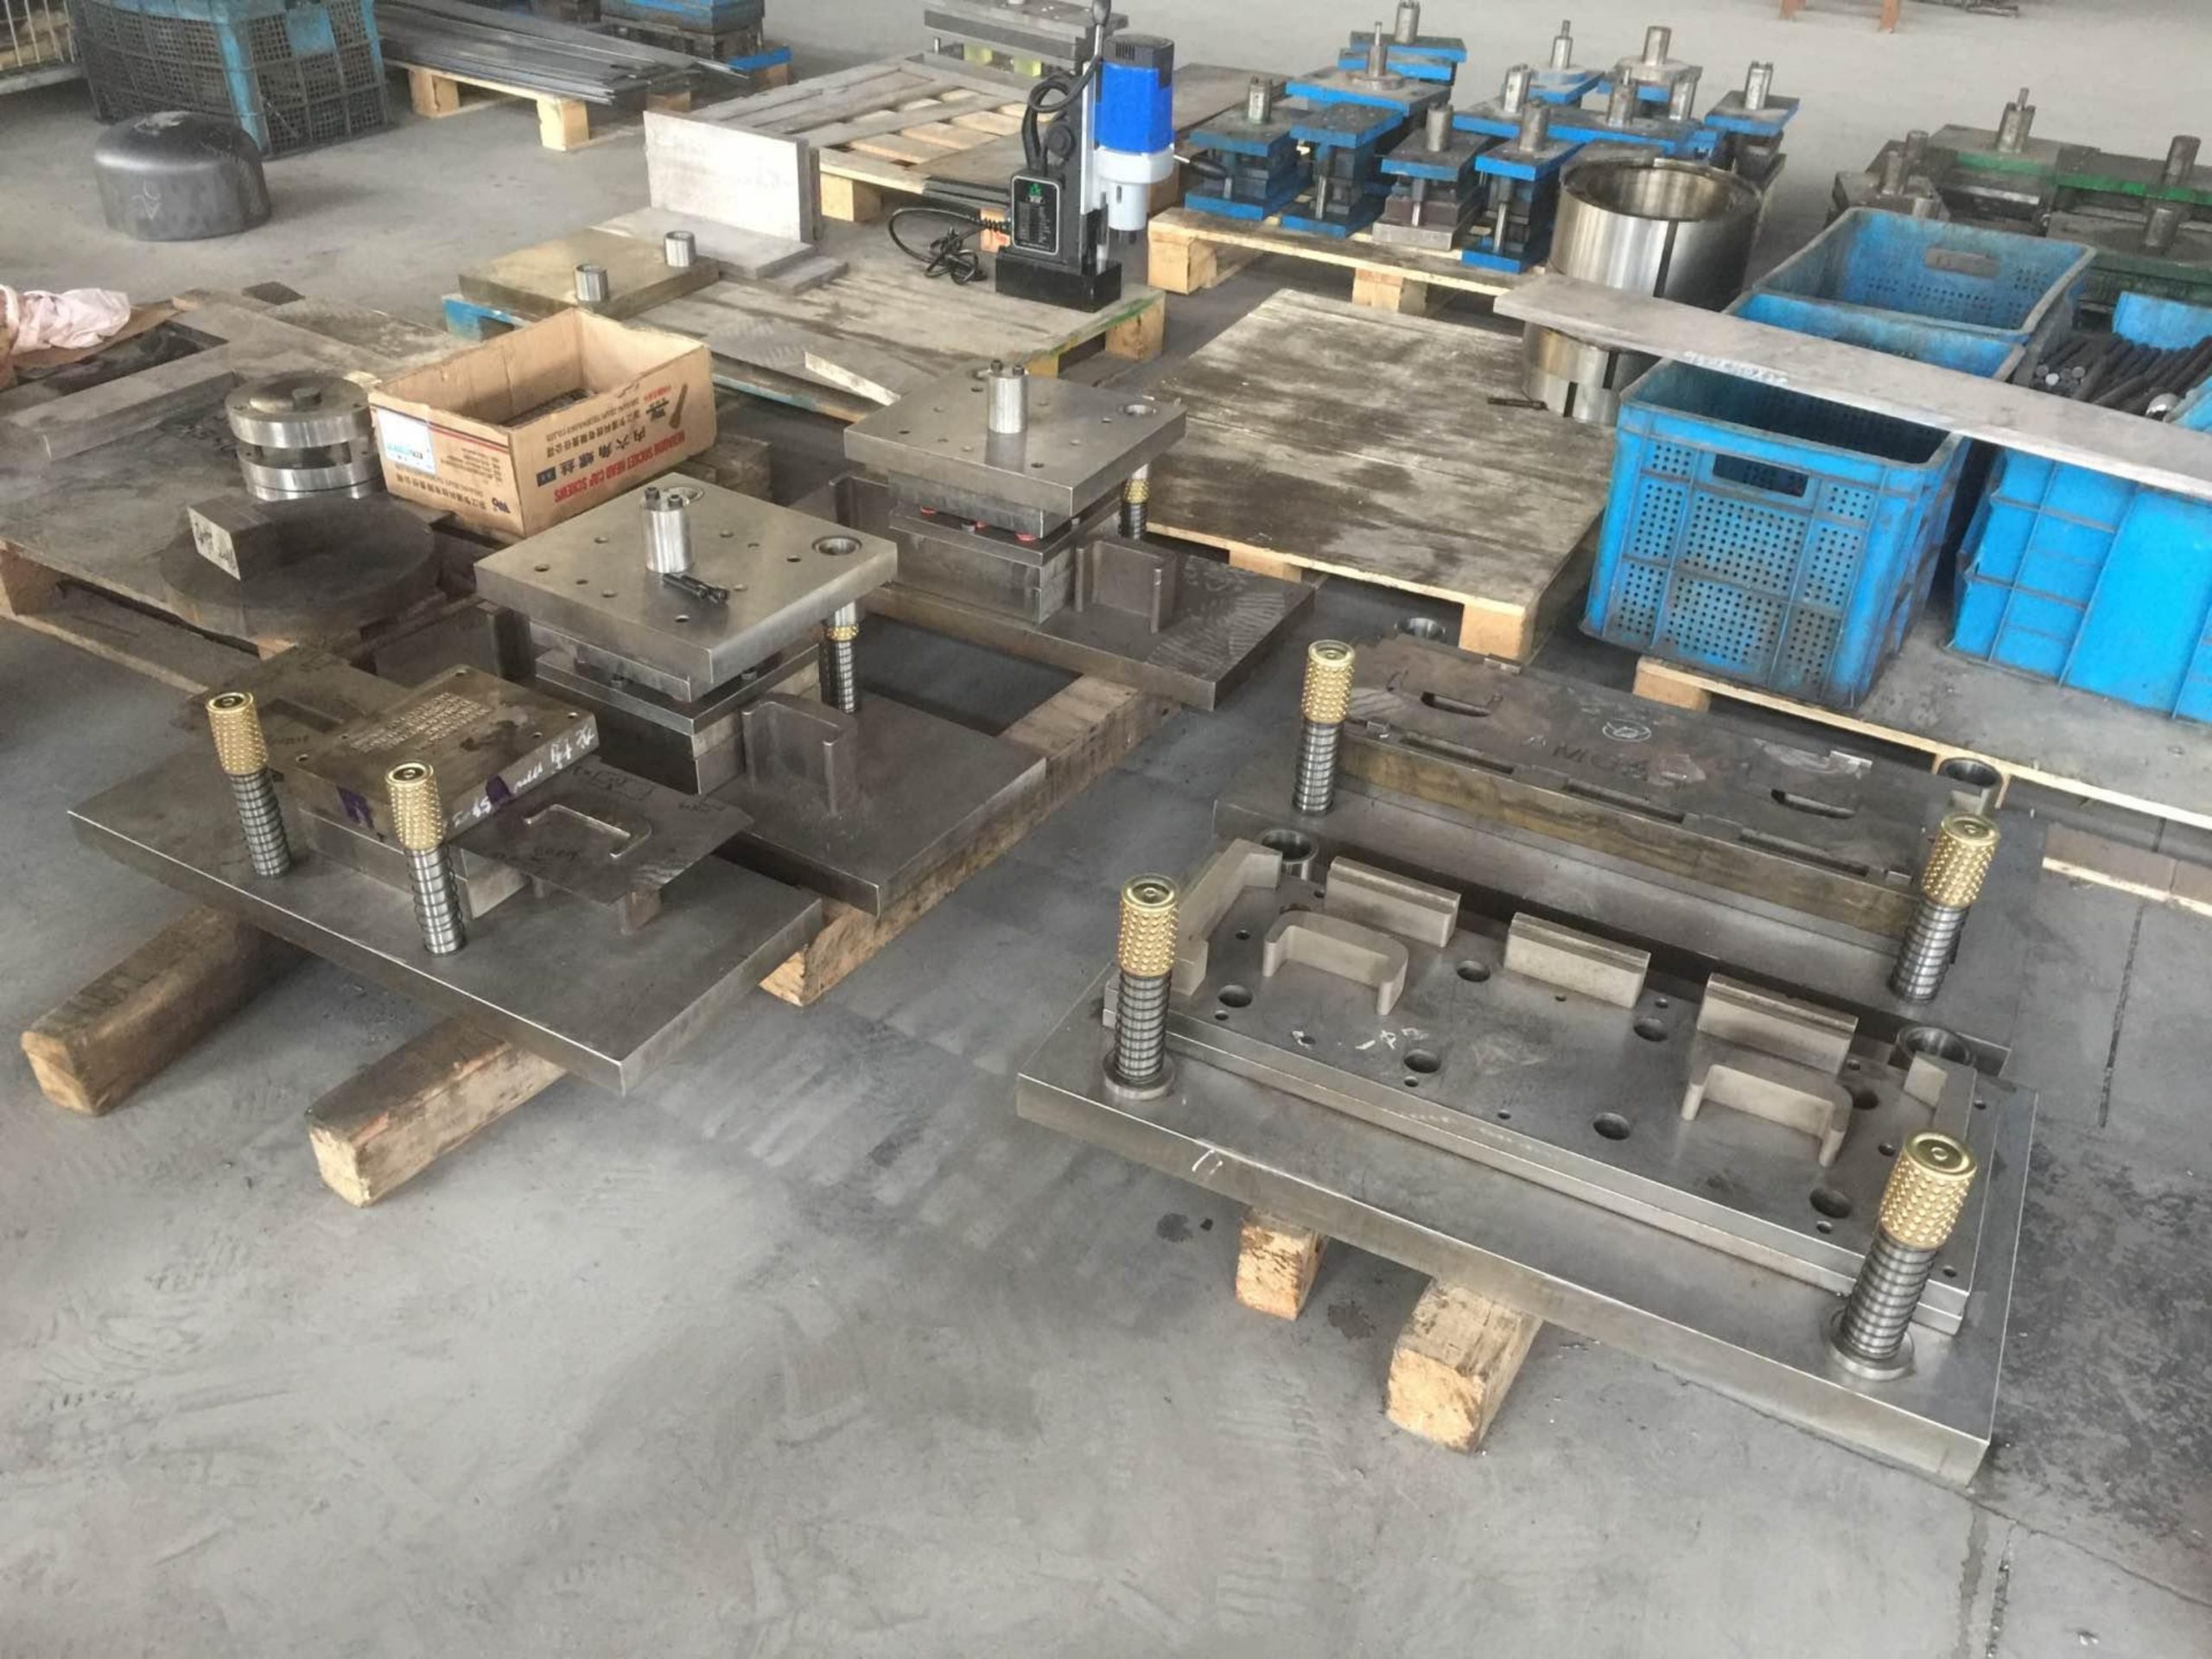
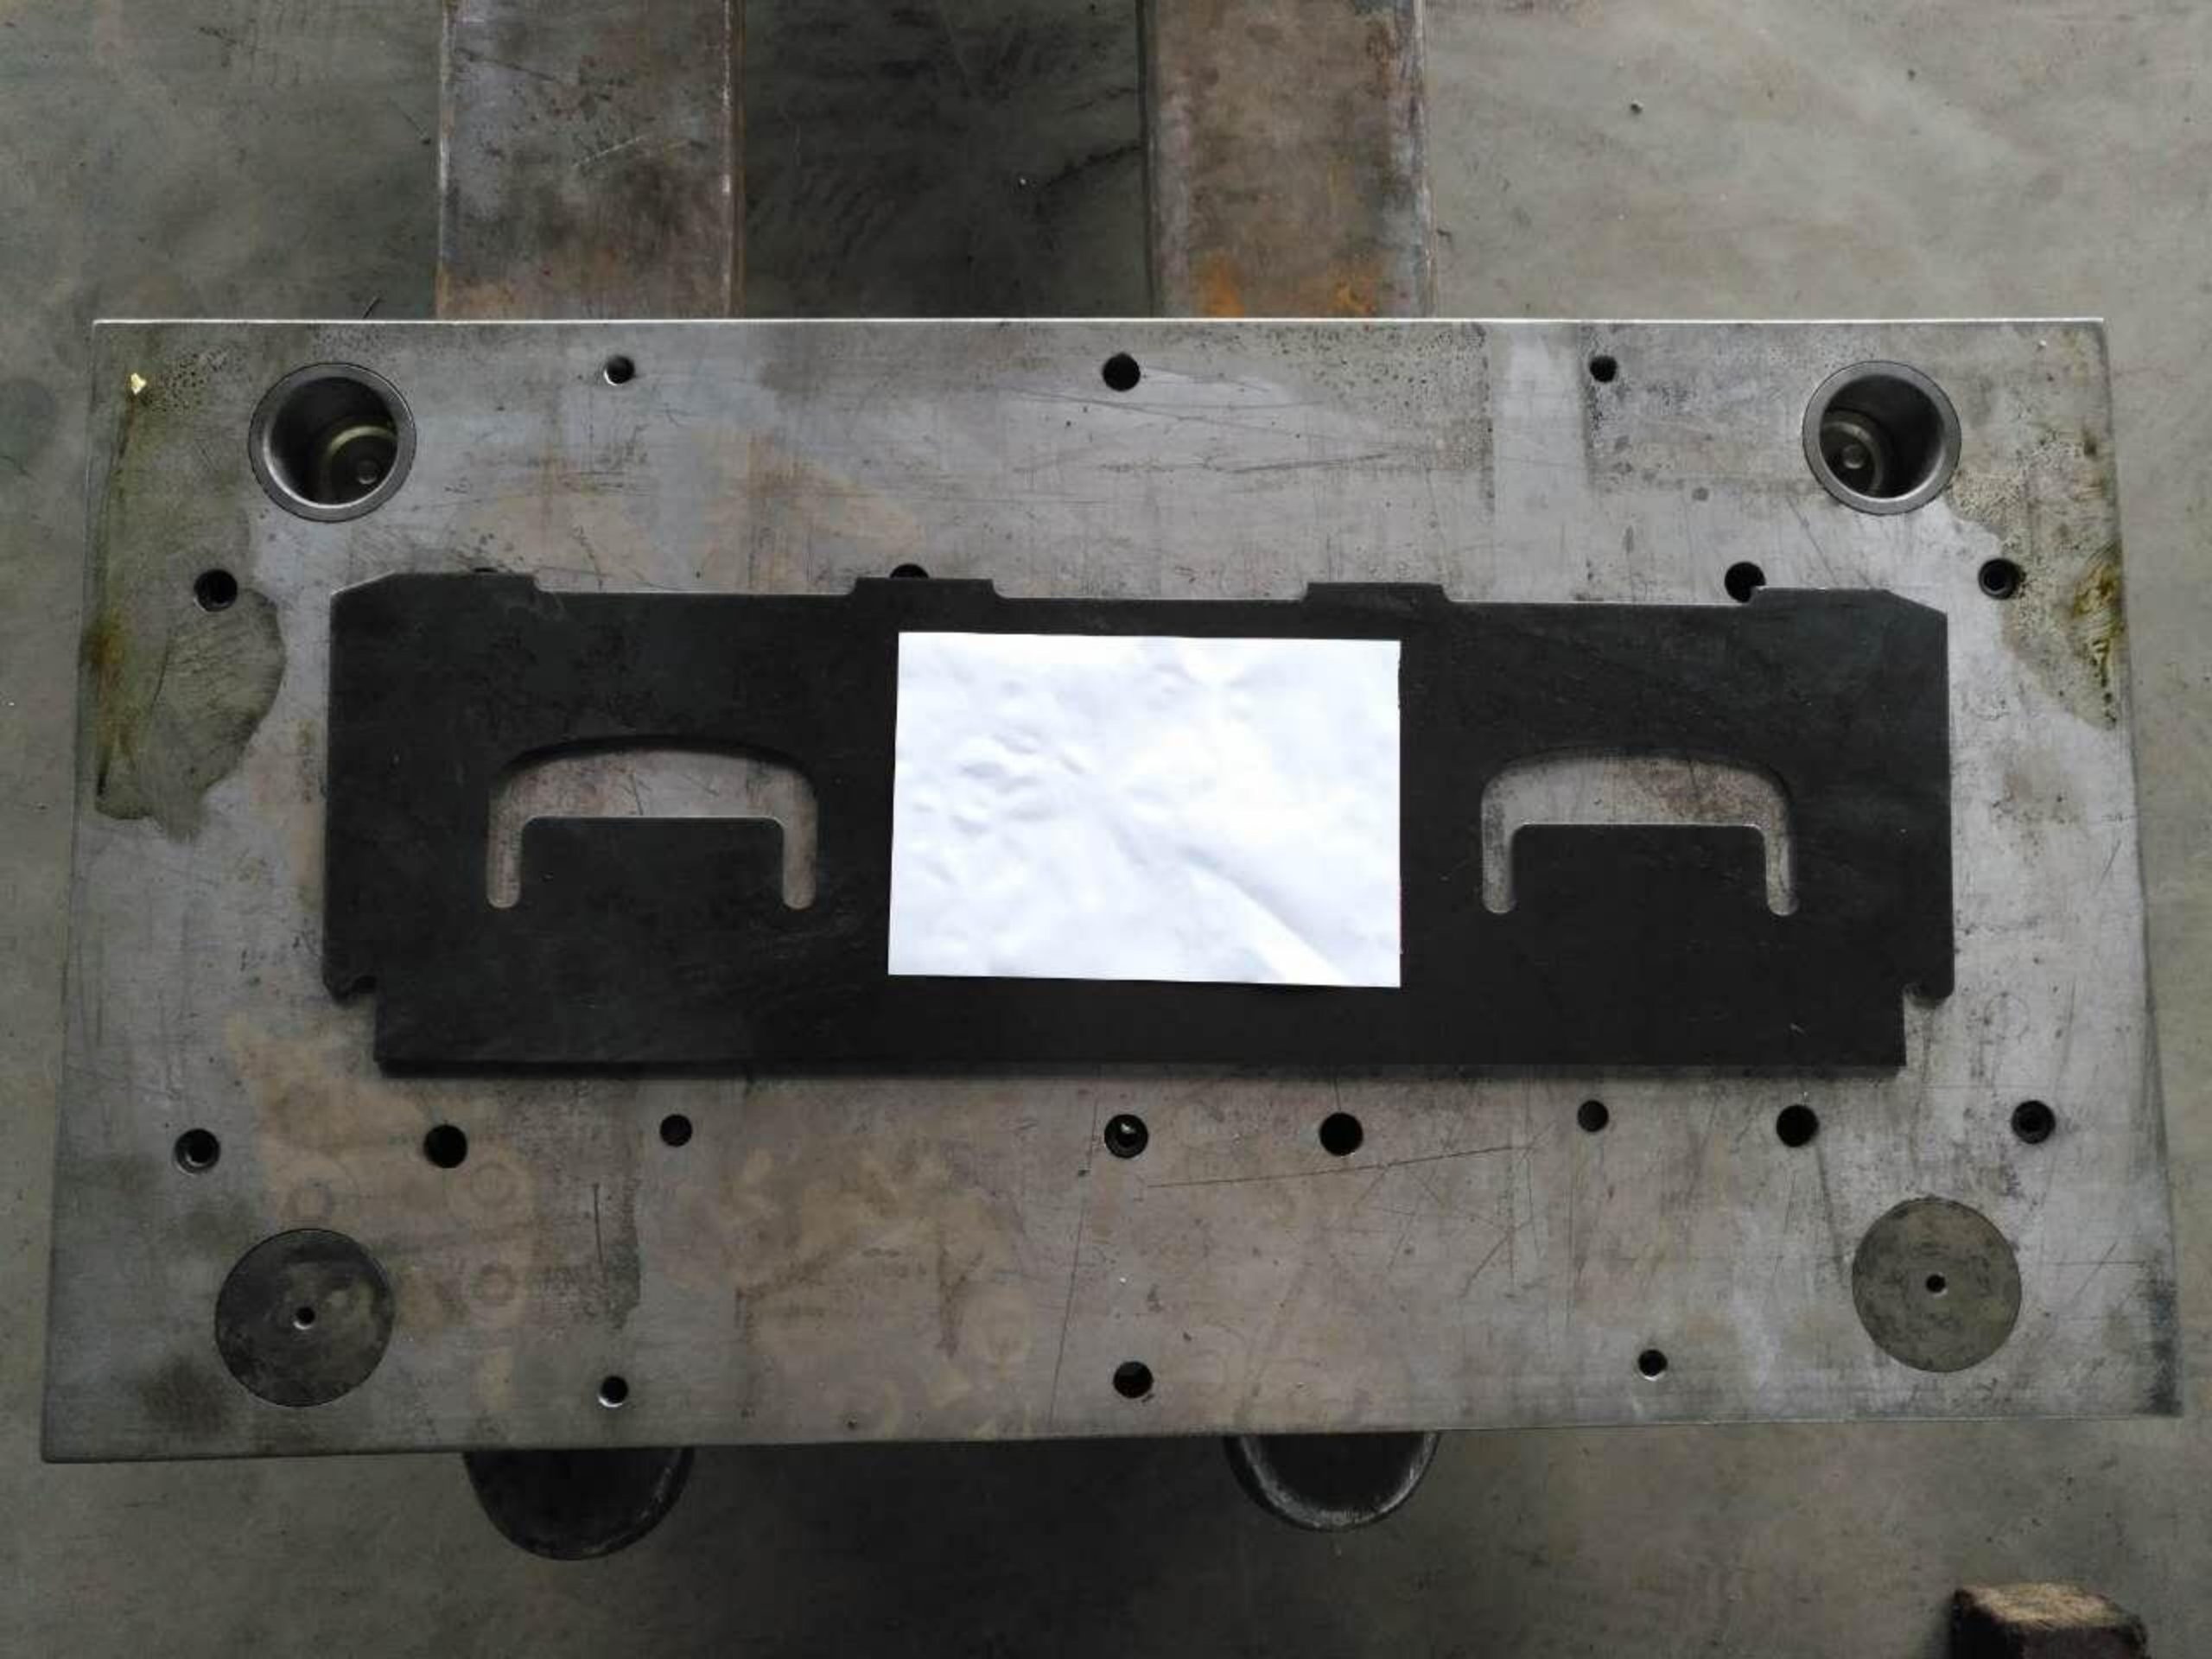
One-step stamping (core process):
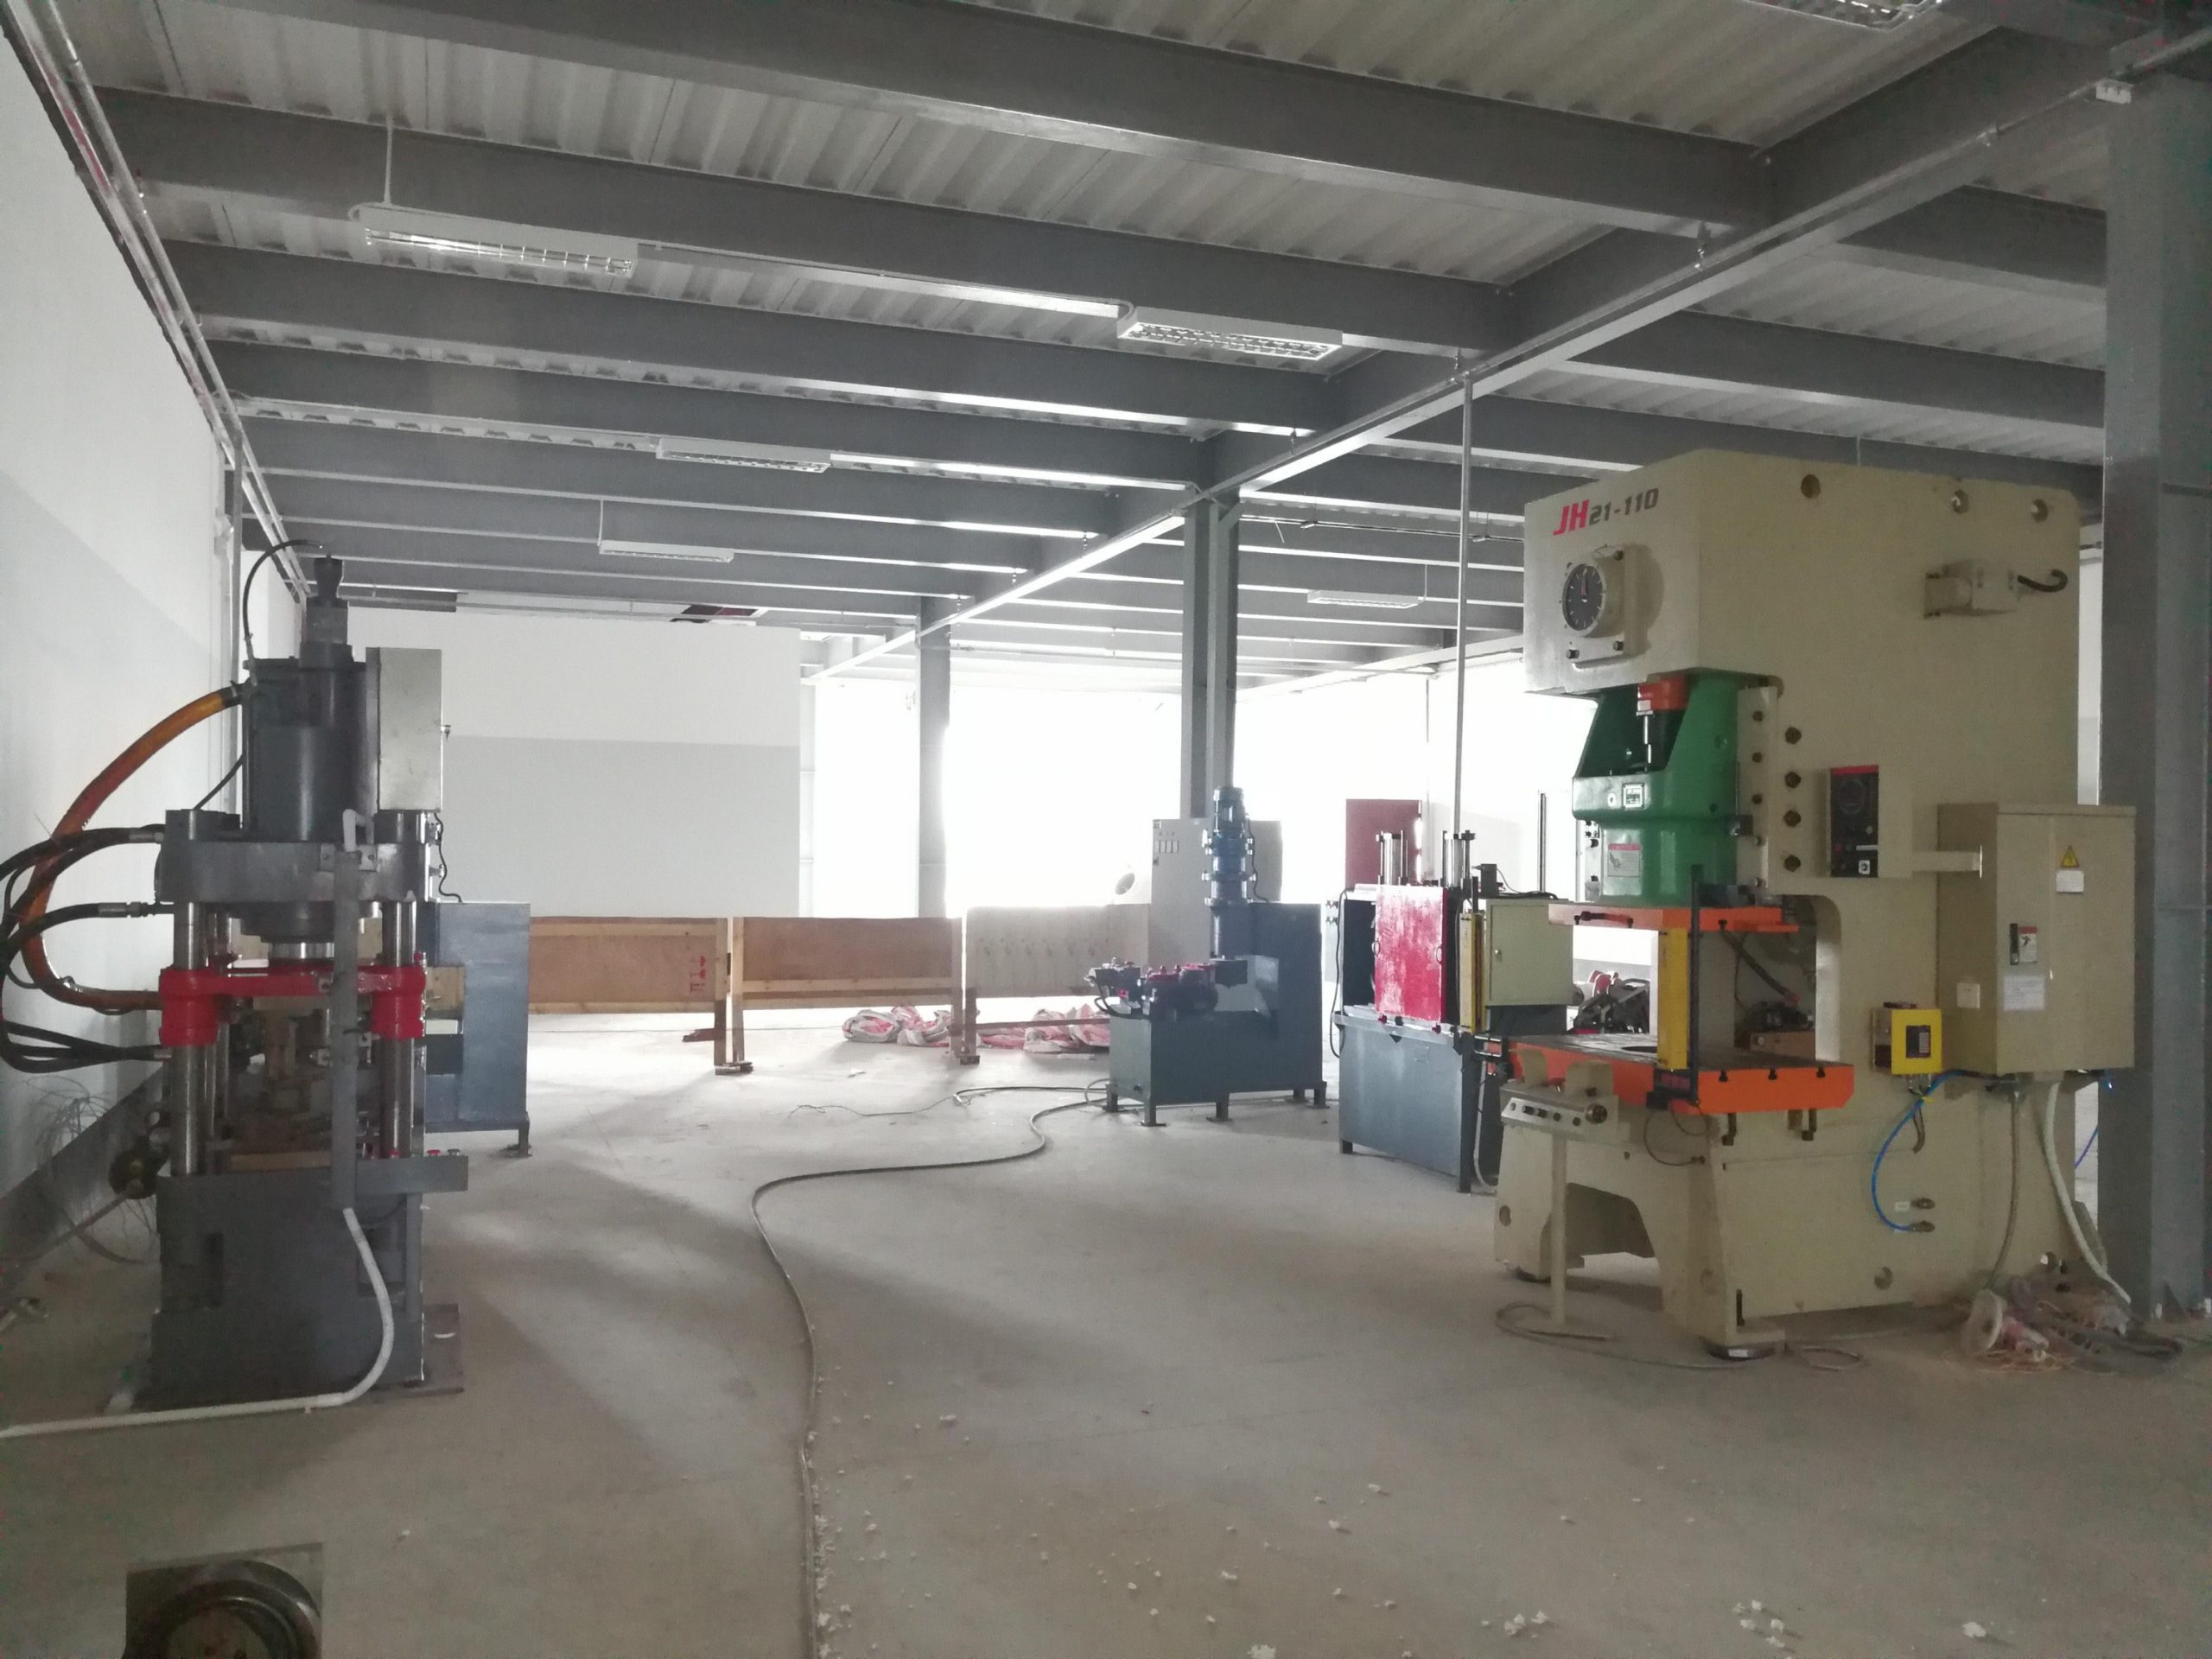
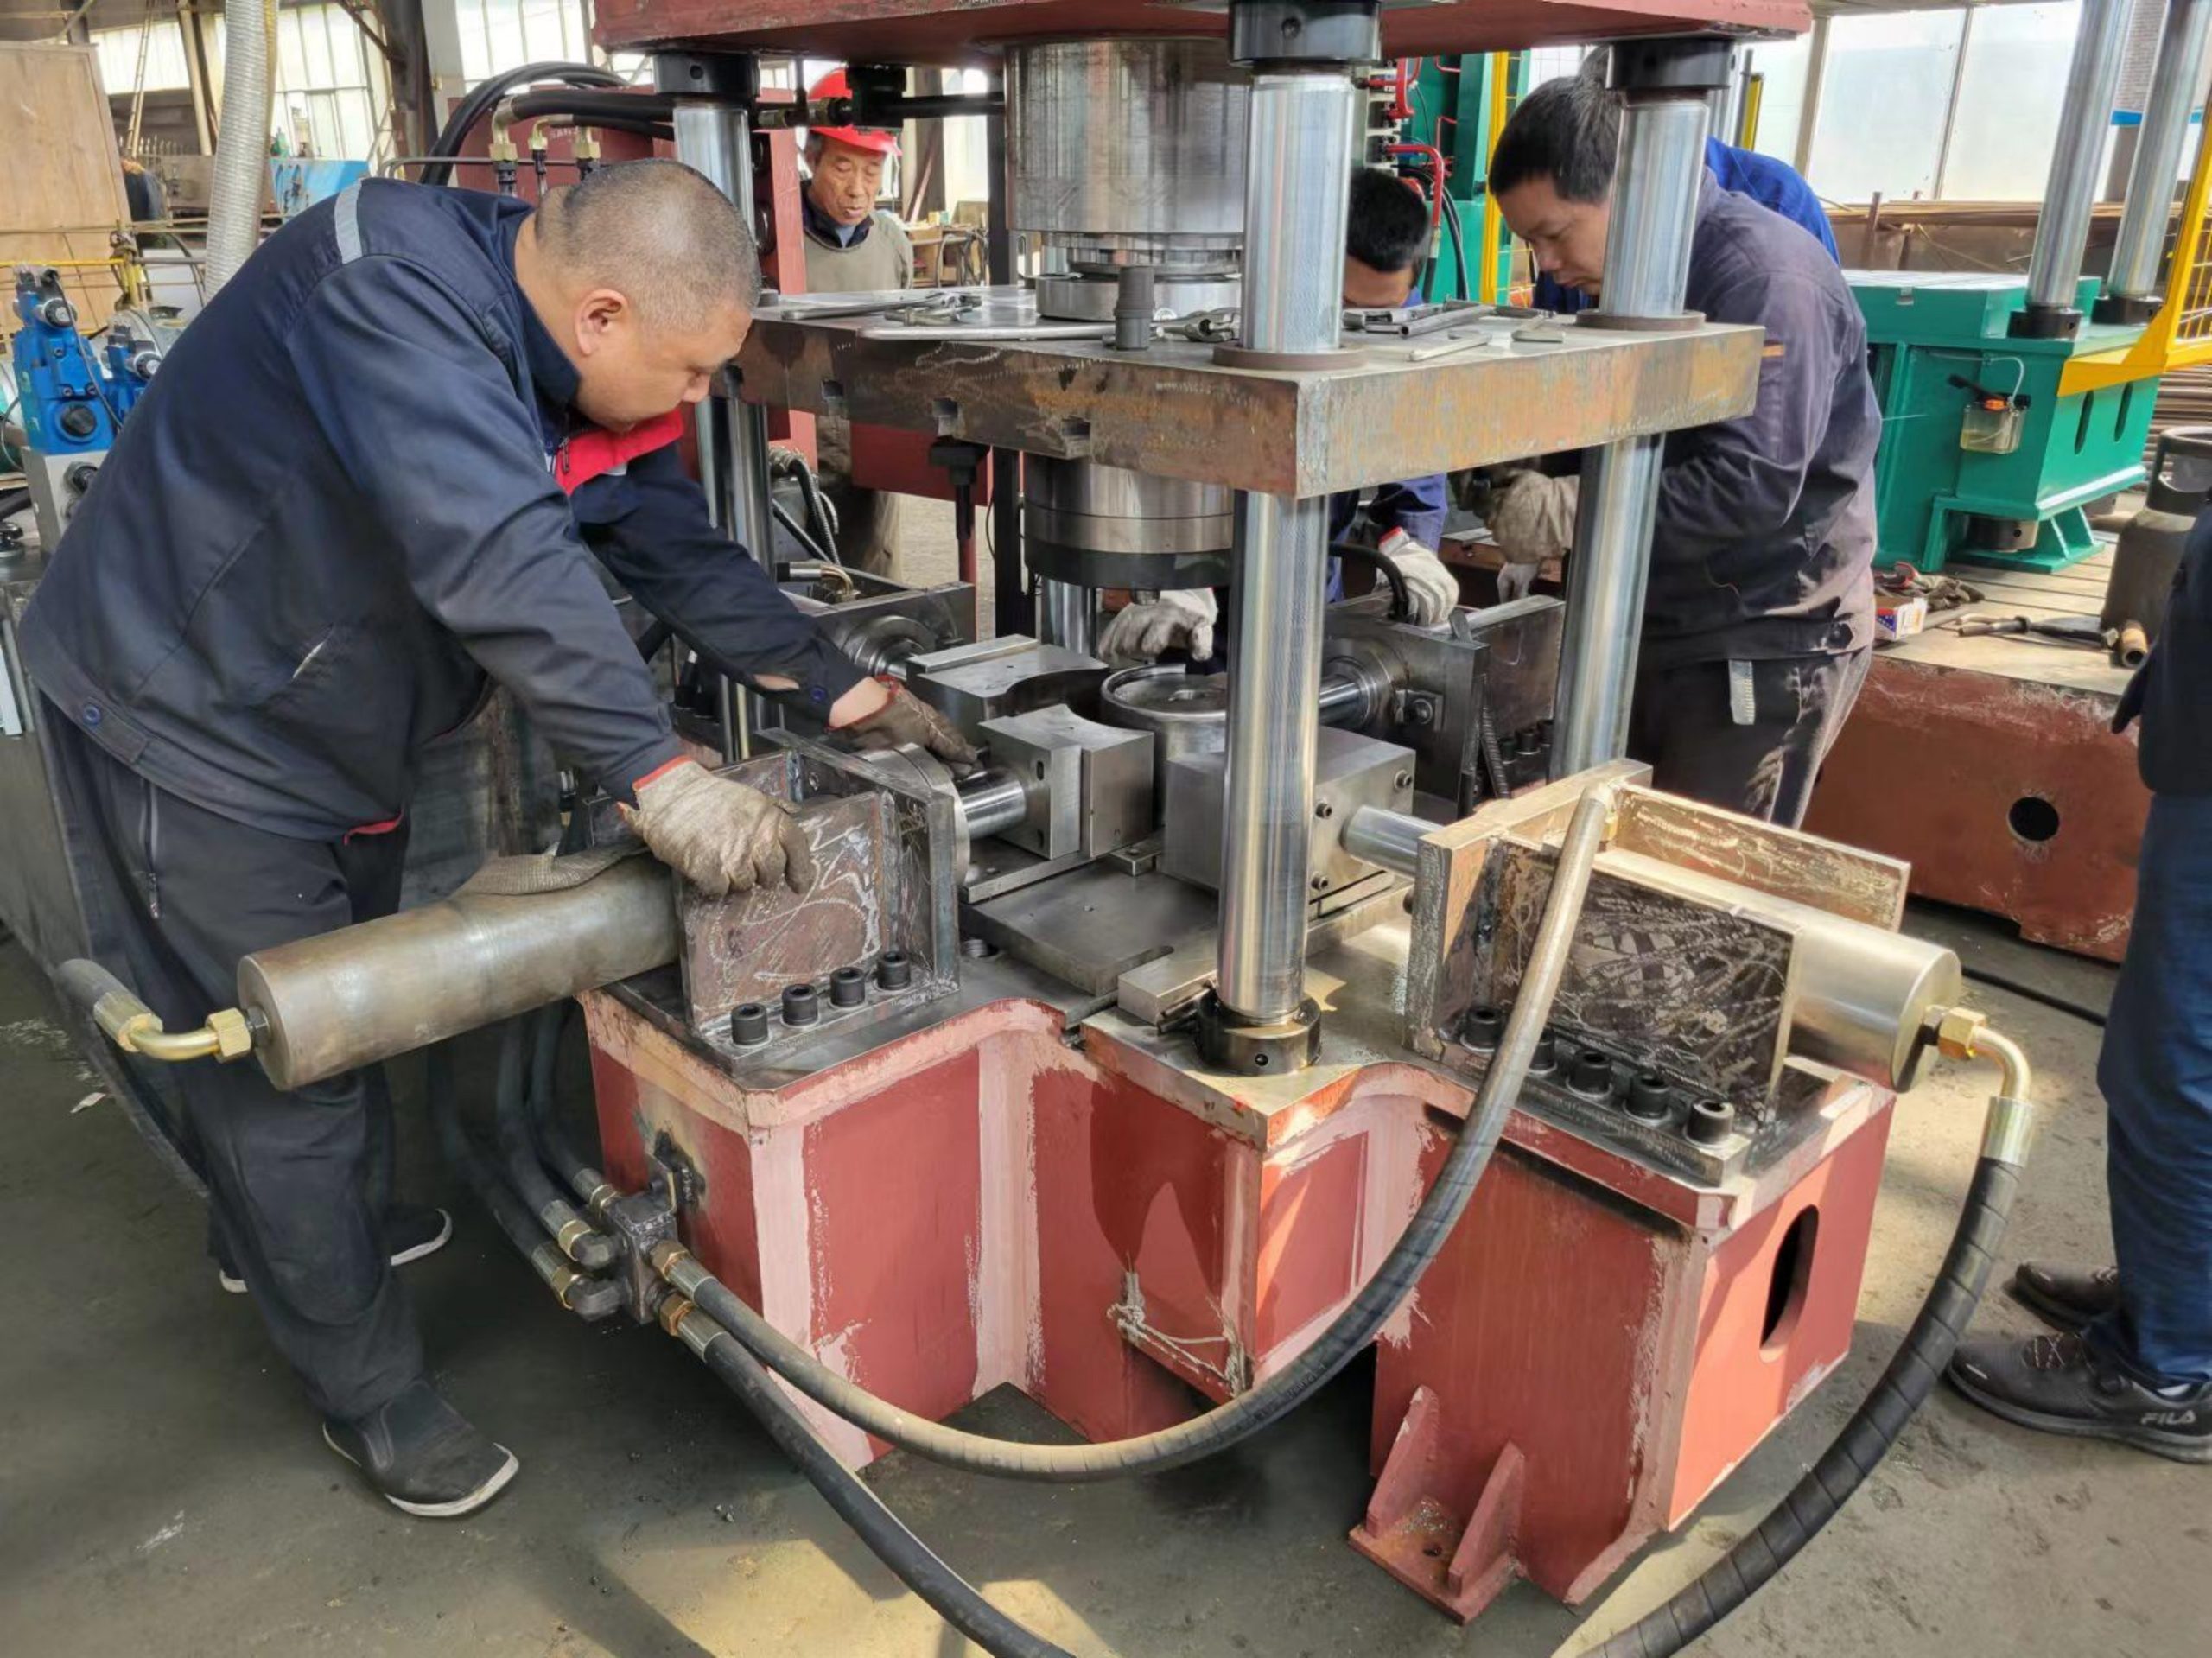
Completed by a four-column hydraulic stamping machine (tonnage is usually 200~500 tons) with a combination mold:
Step 1: Put the blank into the mold, press the upper mold down, and bend the steel plate into a ring or semi-ring to form the main frame of the shield;
Step 2: The built-in punch of the mold punches out the valve receiving groove, handle hole and other structures, with a hole position accuracy of ±0.5mm and a groove depth error of ≤0.3mm.
Automation advantages: The stamping machine is equipped with a feeding robot arm with a positioning accuracy of ±0.2mm. It can operate continuously and produce 200~300 shields per hour, which is more than 5 times the efficiency of manual feeding.
3. Welding and reinforcement
Welding of shield components:
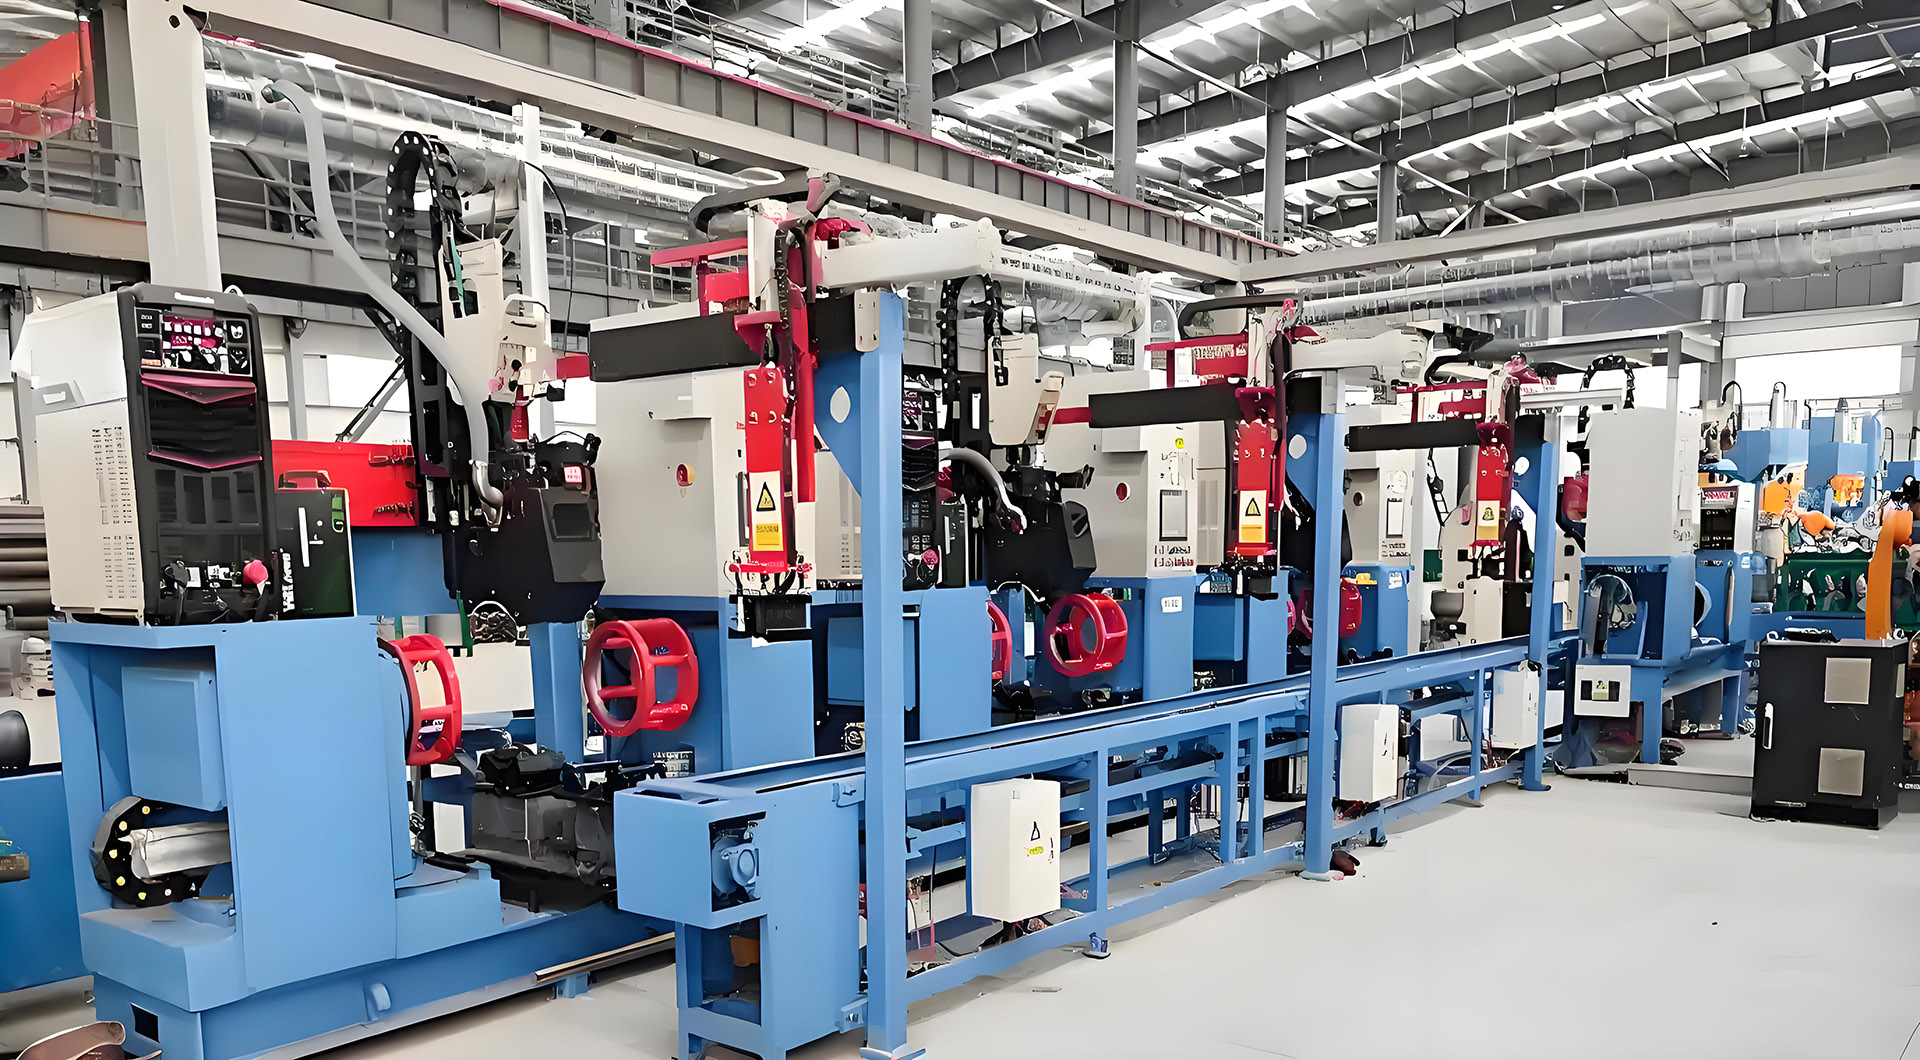
If the shield is composed of sub-components (such as welding the bottom fixing seat and the main frame), MIG welding (molten inert gas shielded welding) is used:
The mechanical arm clamps the shield components, with a positioning accuracy of ±0.1mm, and uses φ1.2mm ER50-6 welding wire, a welding current of 180~220A, and a voltage of 22~25V to ensure that the weld penetration is ≥3mm, without false welds and pores;
After welding, 100% visual inspection and 20% sampling non-destructive testing (such as magnetic particle testing) are carried out to check for surface and near-surface cracks.
Processing of the connection end with the bottle body:
The welding surface of the bottom of the shield needs to be processed into a groove structure (angle 30°~45°) to increase the welding contact area with the bottle body. Some high-end production lines will pre-weld the positioning boss here to facilitate precise alignment with the bottle body in the subsequent welding.
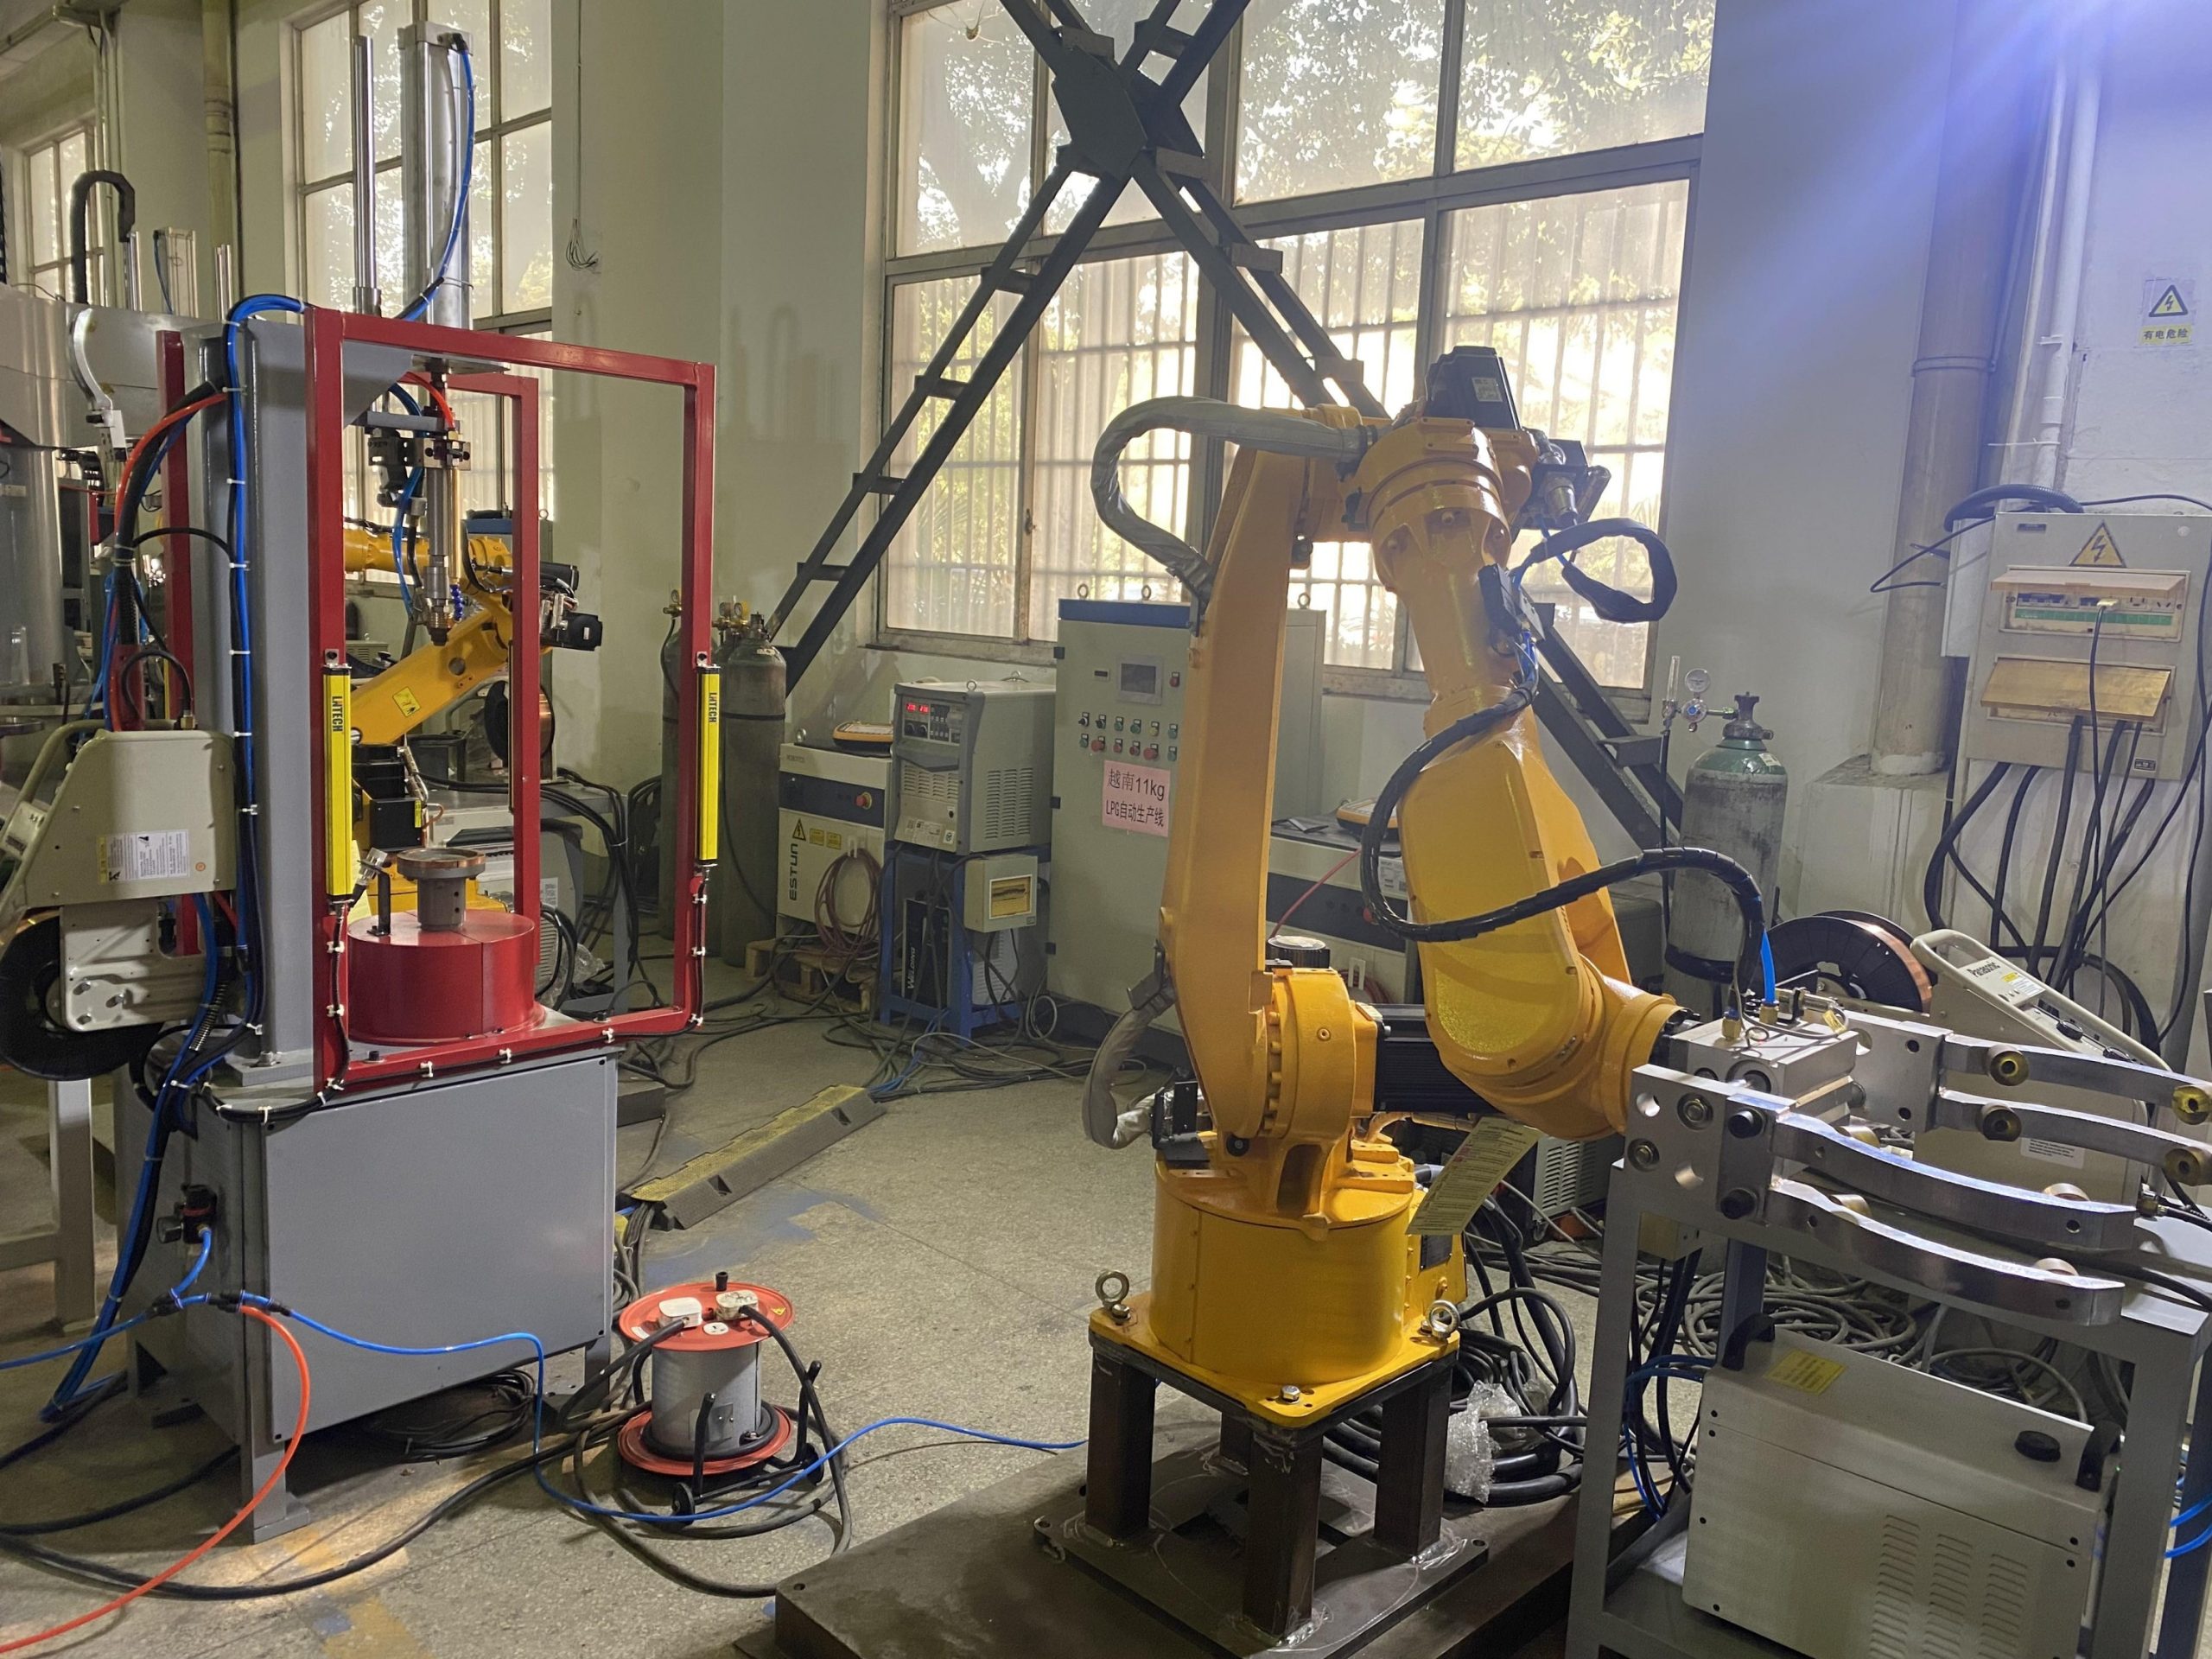
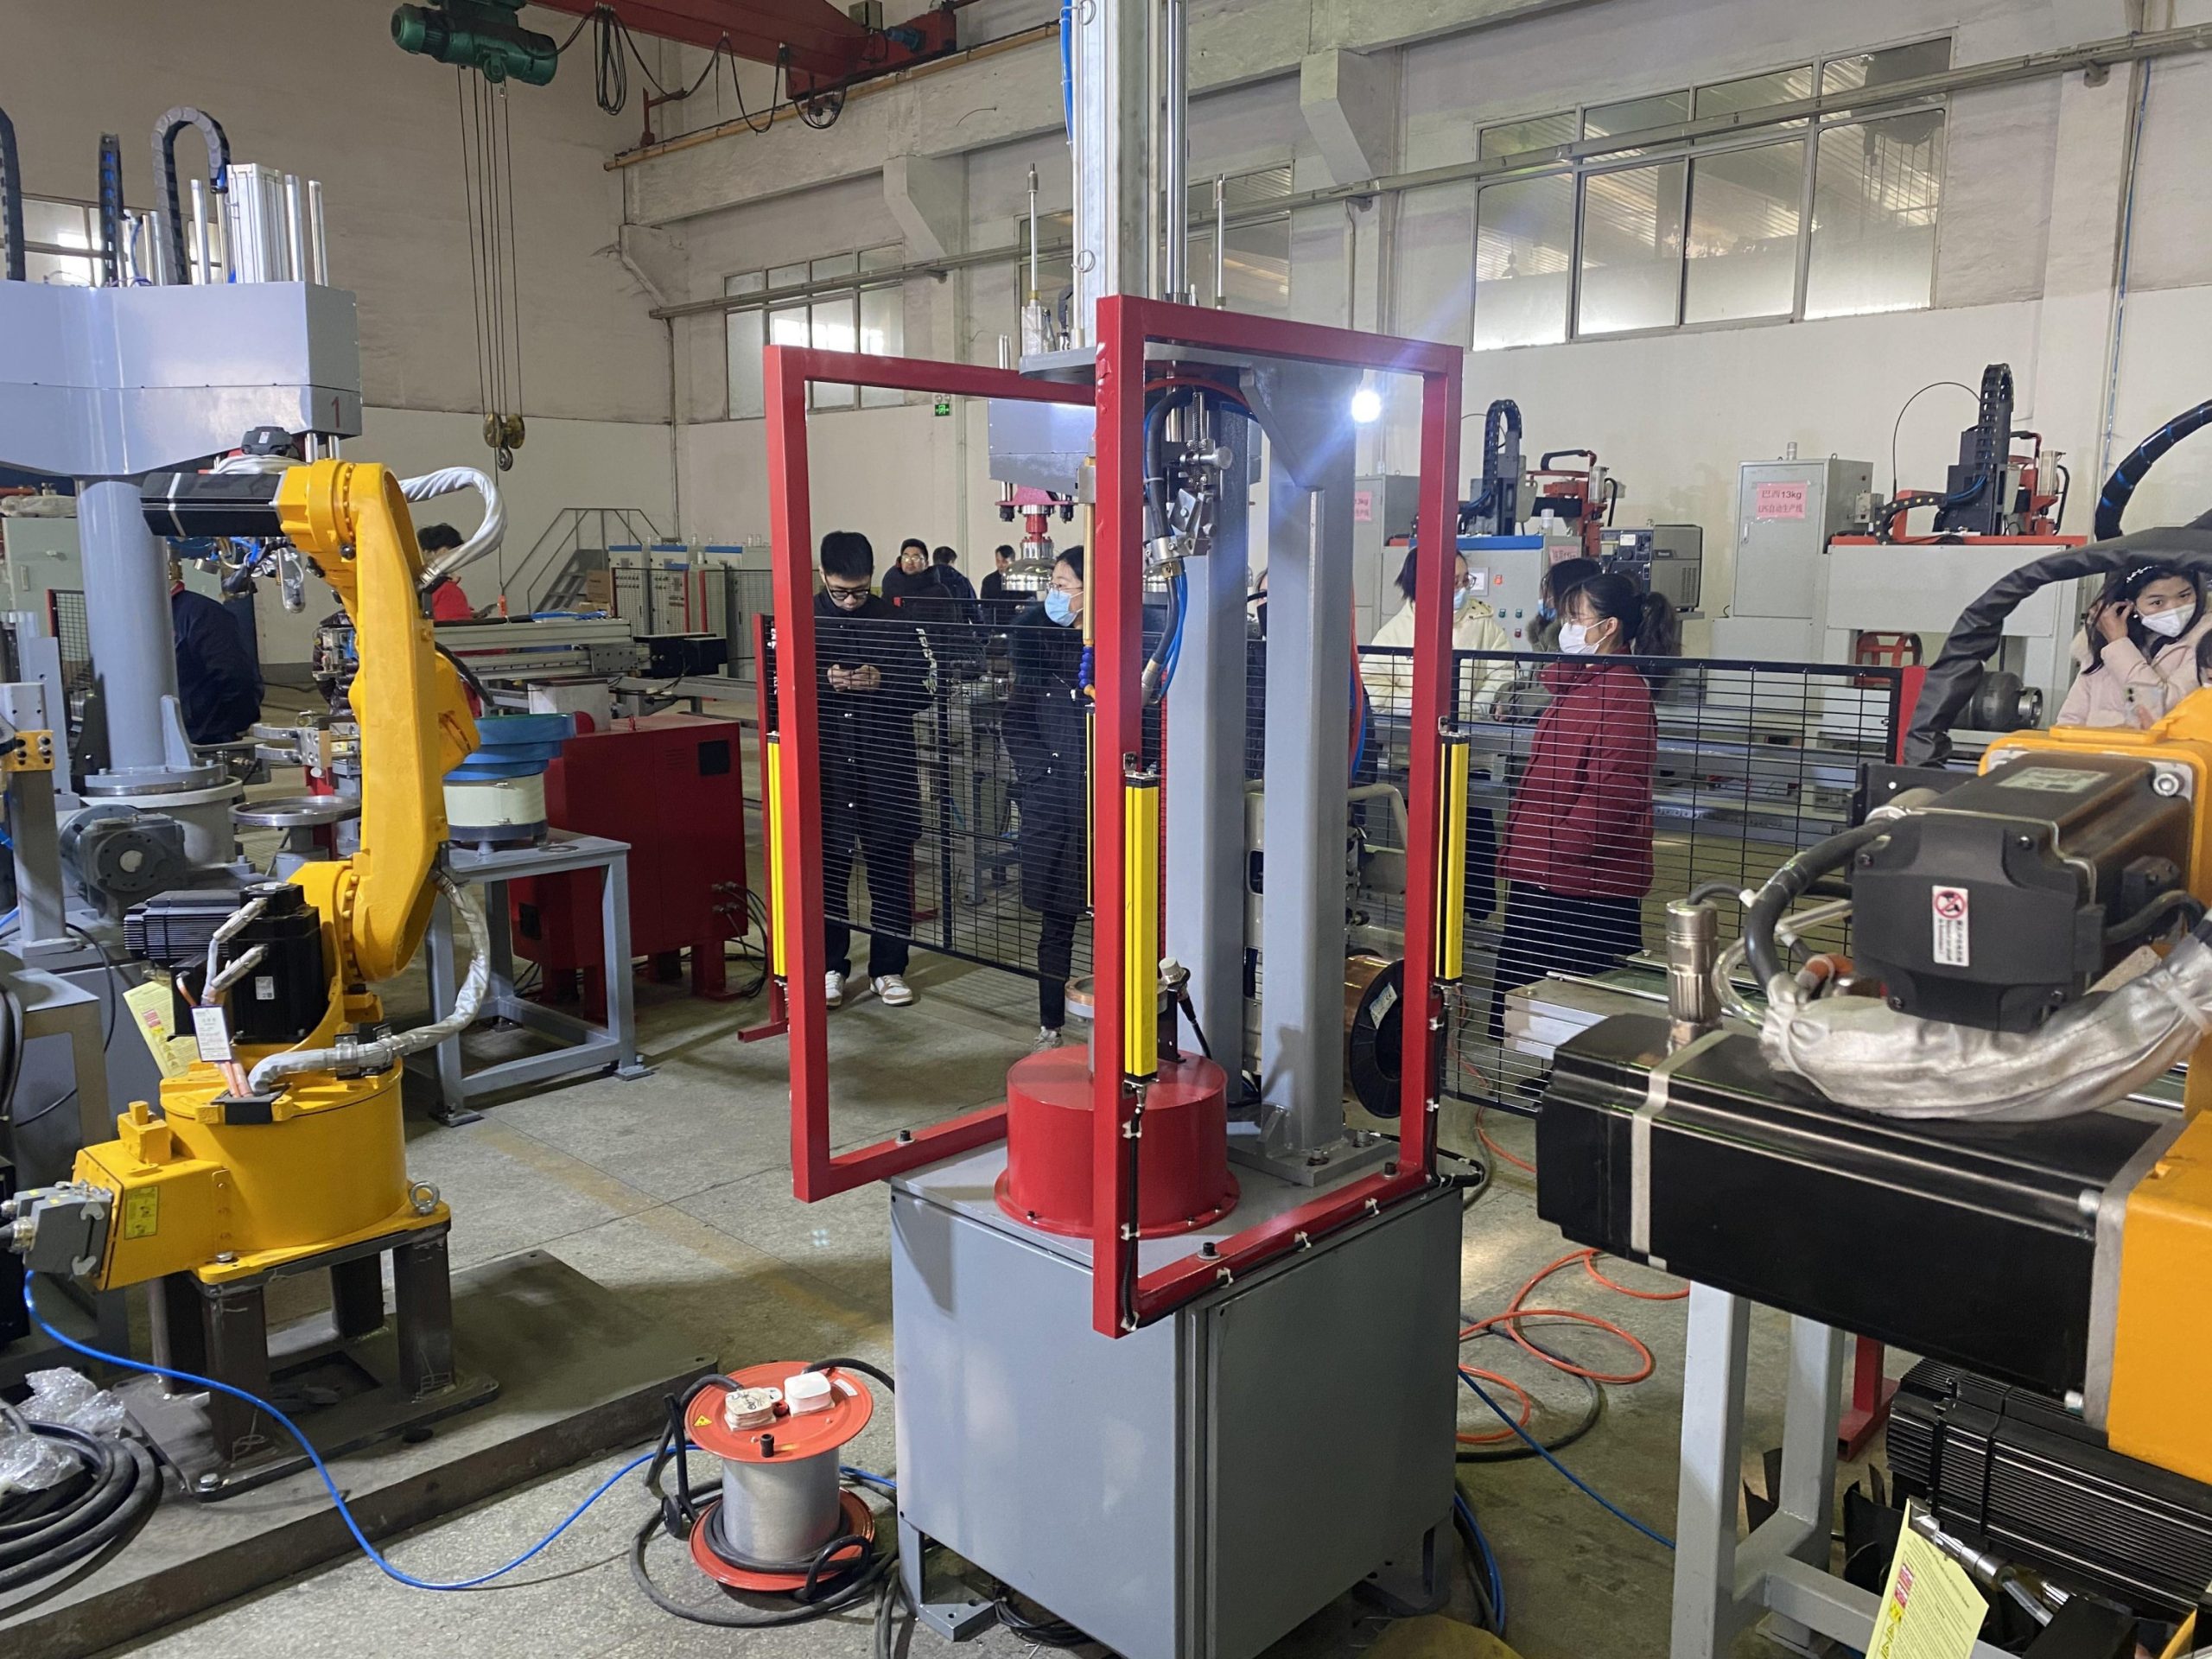
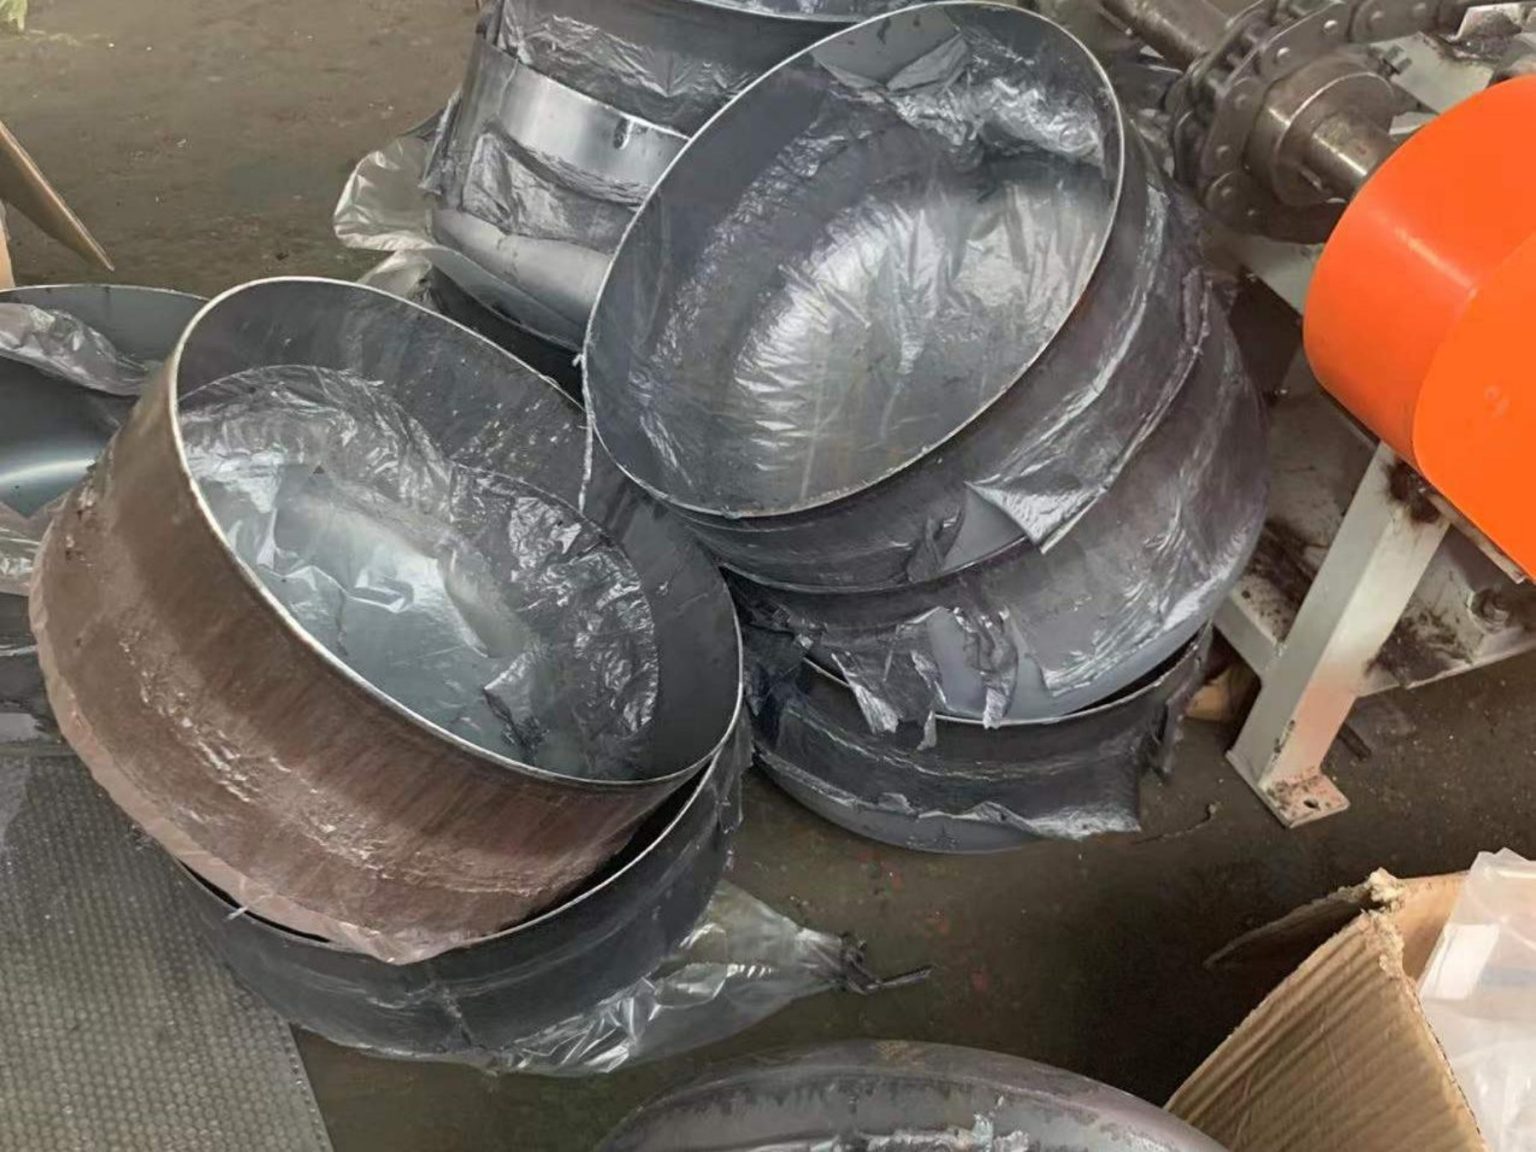
Welding is only for a certain range of the guard rings, such as 3kg bottles in Africa or 13kgs cylinder in Brazil. Mostly the cylinder guard rings are rolled and formed directly, such as the Chinese GB standard cylinder.
4. Surface treatment and strengthening
Deburring and grinding:
The edge of the stamped shield is processed by an automated belt grinder or shot blasting machine to remove flash and burrs, and the surface roughness is Ra≤12.5μm to avoid scratching the operator or the bottle coating.
Heat treatment (optional):
Anneal or normalize the high-strength shield (such as the 50kg gas cylinder shield), heat to 650~850℃, keep warm, and then air cool to eliminate stamping stress, improve material toughness, and prevent cracking during use.
5. Quality inspection and sorting
Dimension and shape tolerance inspection:
Use a three-coordinate measuring machine or visual inspection system to automatically measure the inner diameter, height, welding surface flatness and other parameters of the shield:
Inner diameter error ≤±1mm, height error ≤±1.5mm, welding surface flatness ≤0.5mm/100mm;
Visual inspection uses industrial cameras to identify surface defects (such as cracks and pits), with a detection speed of 50~100 pieces/minute and an accuracy rate of ≥99.5%.
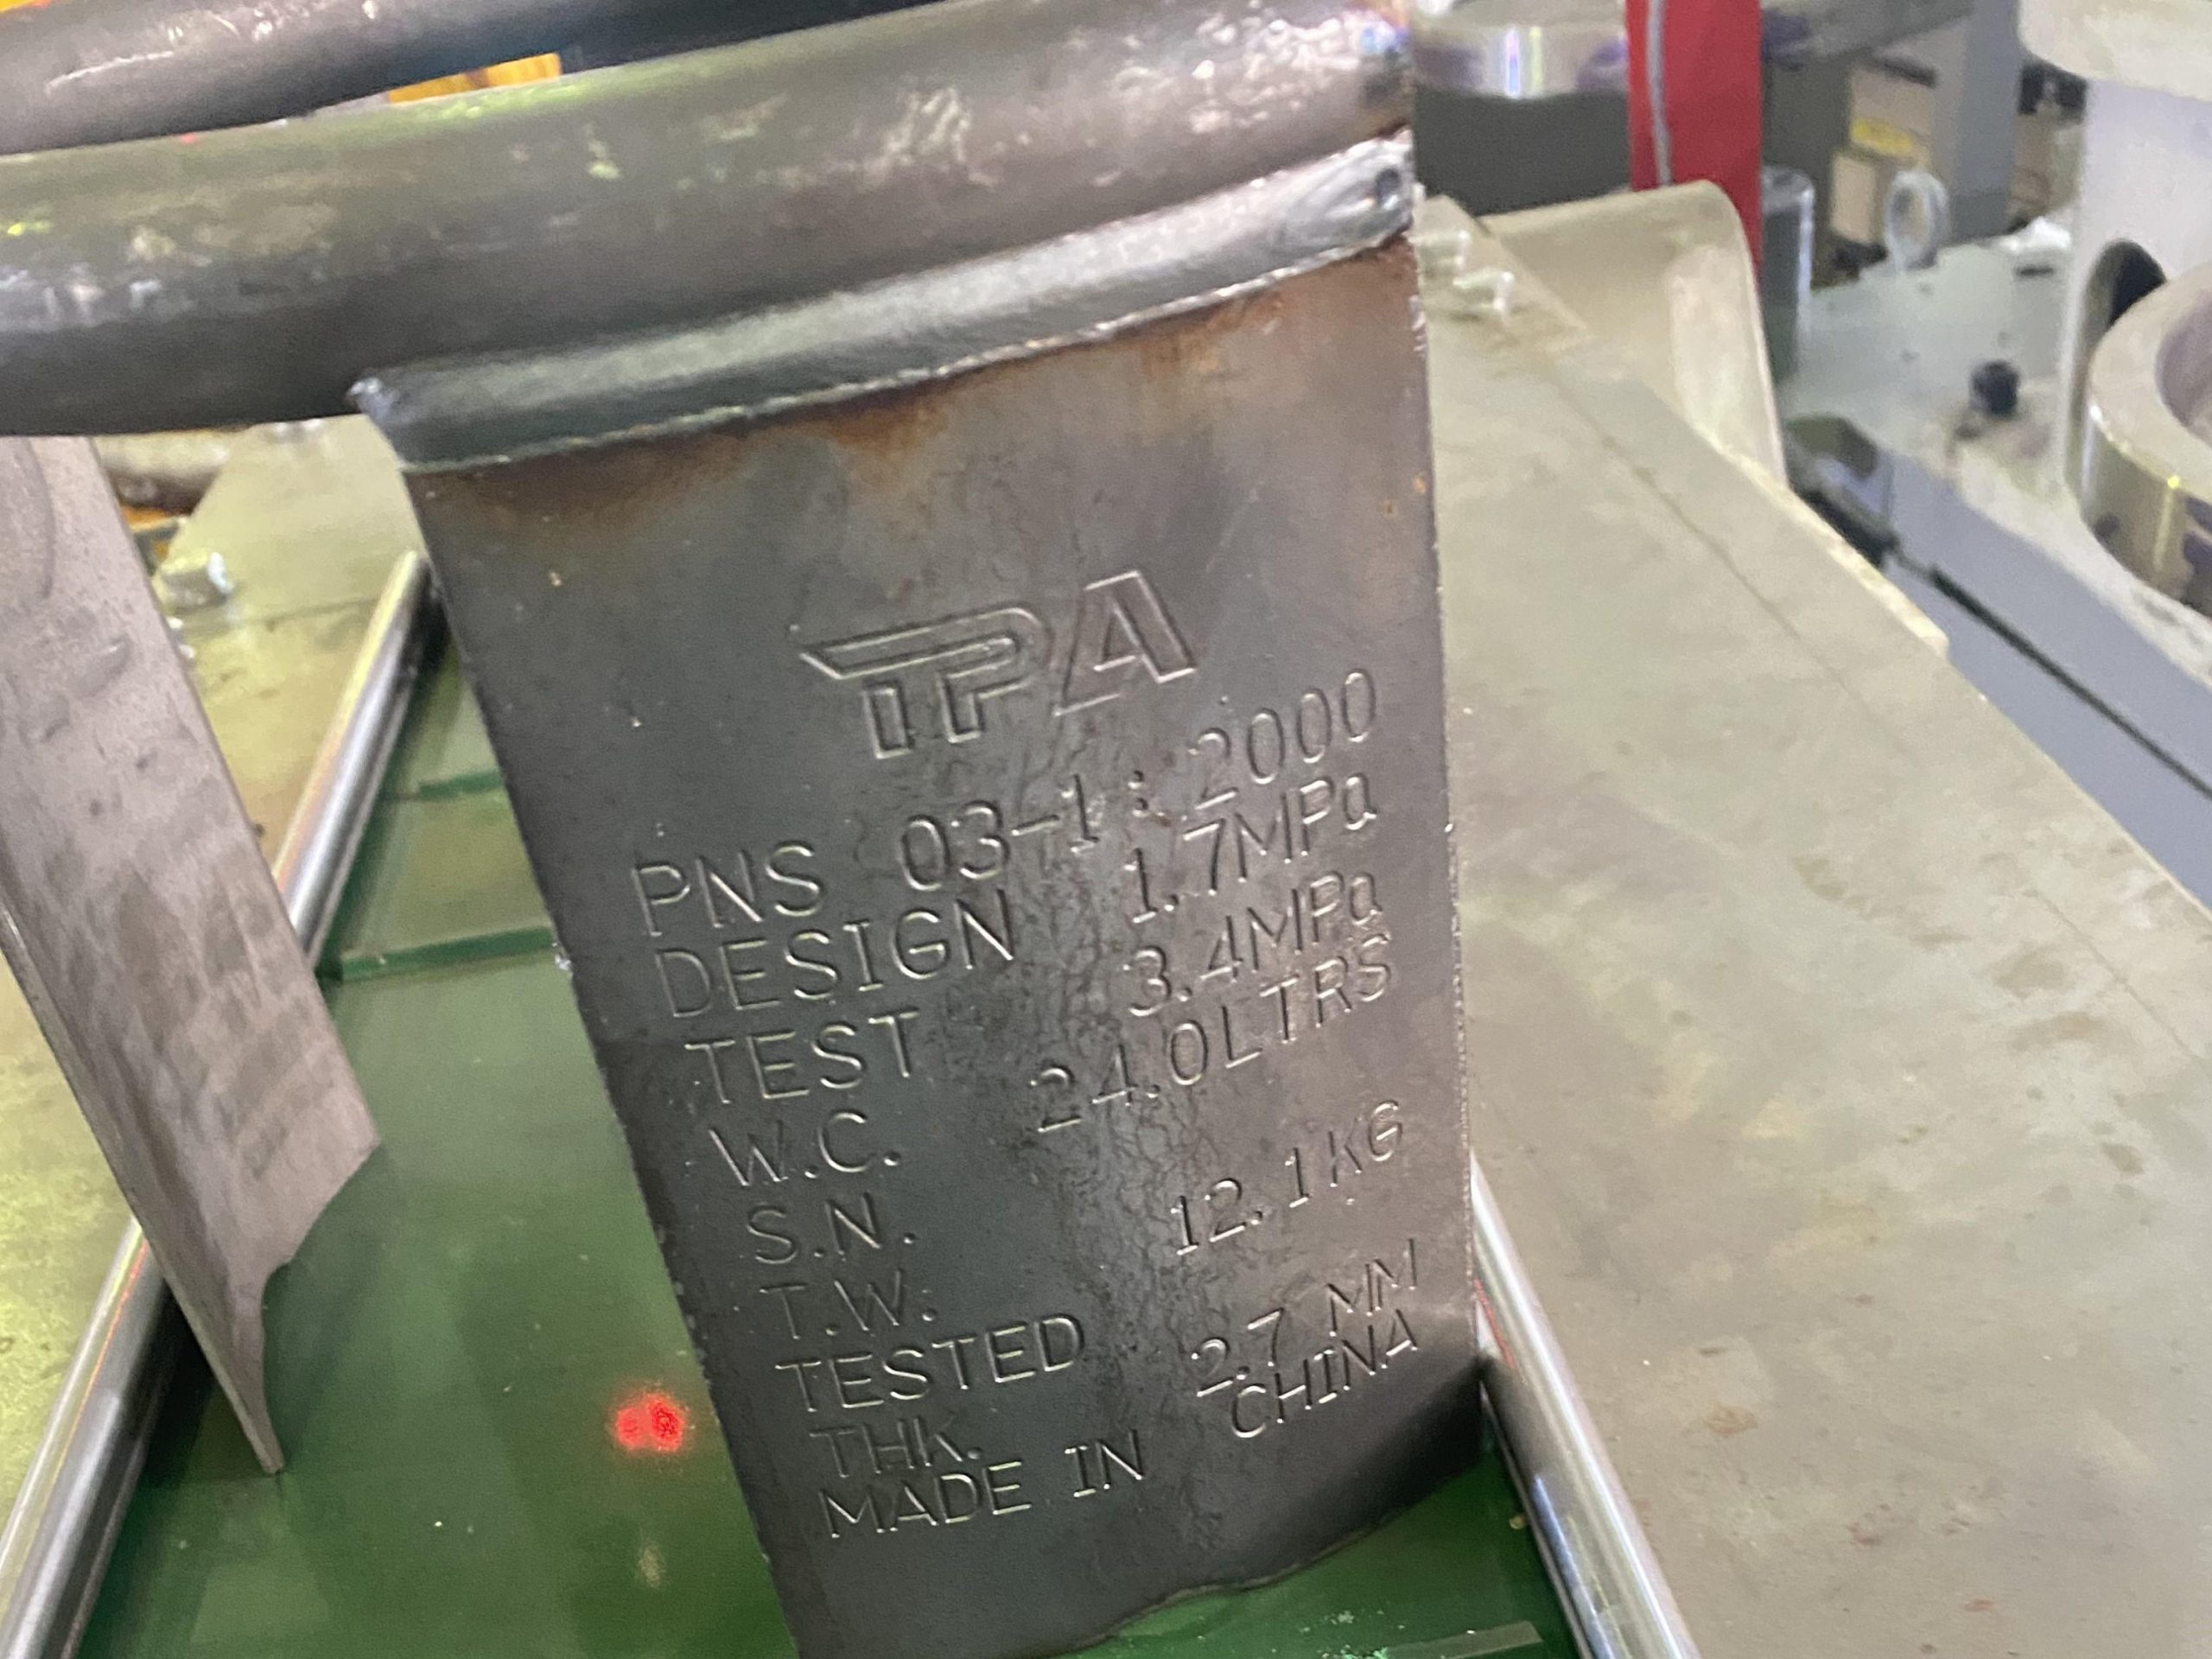
Strength test:
Sampling static load test: Apply 1000N pressure on the top of the shield for 1 minute, and the deformation after unloading is ≤1mm, and there is no crack; some companies will simulate a collision scene, using a 10kg hammer to impact the shield from a free fall from a height of 1.5m, and the valve receiving groove must not be deformed to affect the valve installation.
*Key points of safety and compliance in production
Material re-inspection: Each batch of steel plates needs to be sampled for mechanical property testing (tensile and impact tests) and chemical composition analysis to ensure compliance with standard requirements and avoid using unqualified steel materials that lead to insufficient shield strength;
Welding process assessment: Before the new shield model is put into production, it is necessary to conduct process assessment in accordance with the “Welding Process Assessment for Pressure Equipment” (NB/T 47014) to verify the reliability of welding parameters;
Explosion-proof measures: In the painting process, the electrostatic spraying workshop needs to be equipped with explosion-proof walls and combustible gas alarms, and all electrical equipment meets the Ex d IIB T4 explosion-proof level to prevent the risk of explosion caused by solvent volatilization.
E-mail: [email protected]
WhatsApp: +86 18811997342
Sales Engineer: Bruce Van


